How to Create, Send, and Track Customer Invoices in Invent ERP
Learn how to generate customer invoices, track payments, and manage billing efficiently.
Step-by-Step Process
Step 1: Navigate to Invoices
From the Main Menu, navigate to Accounting → Customers → Invoices. Or from Quick Links, click New Invoice.

OR from the Quick links click on New Invoice.

Step 2: Create a New Invoice
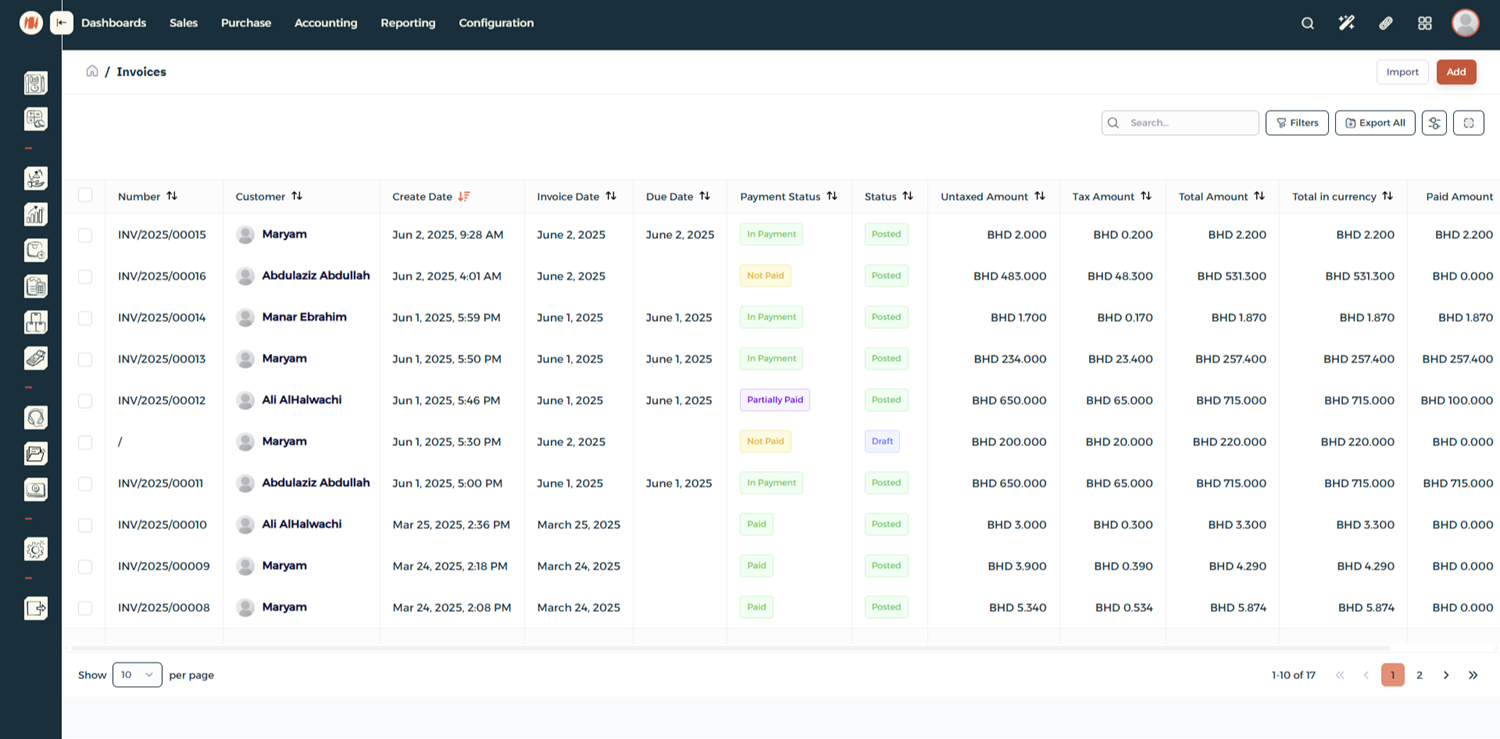
Here, you can view all existing invoices along with their amounts and current status. Click Add to create a New Invoice
Step 3: Add Details
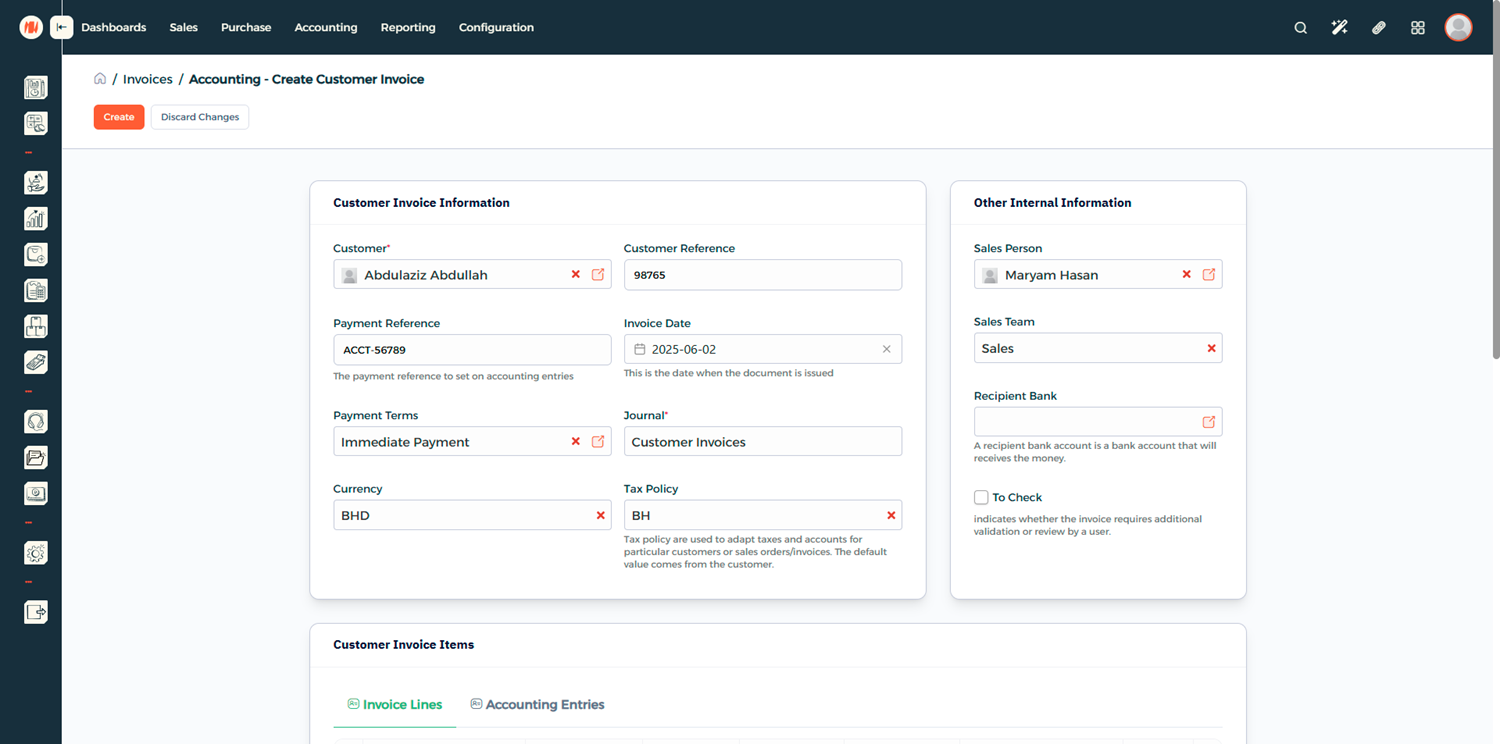
Fill in the Customer Invoice Information and any other internal information.
Step 4: Add Invoice Items
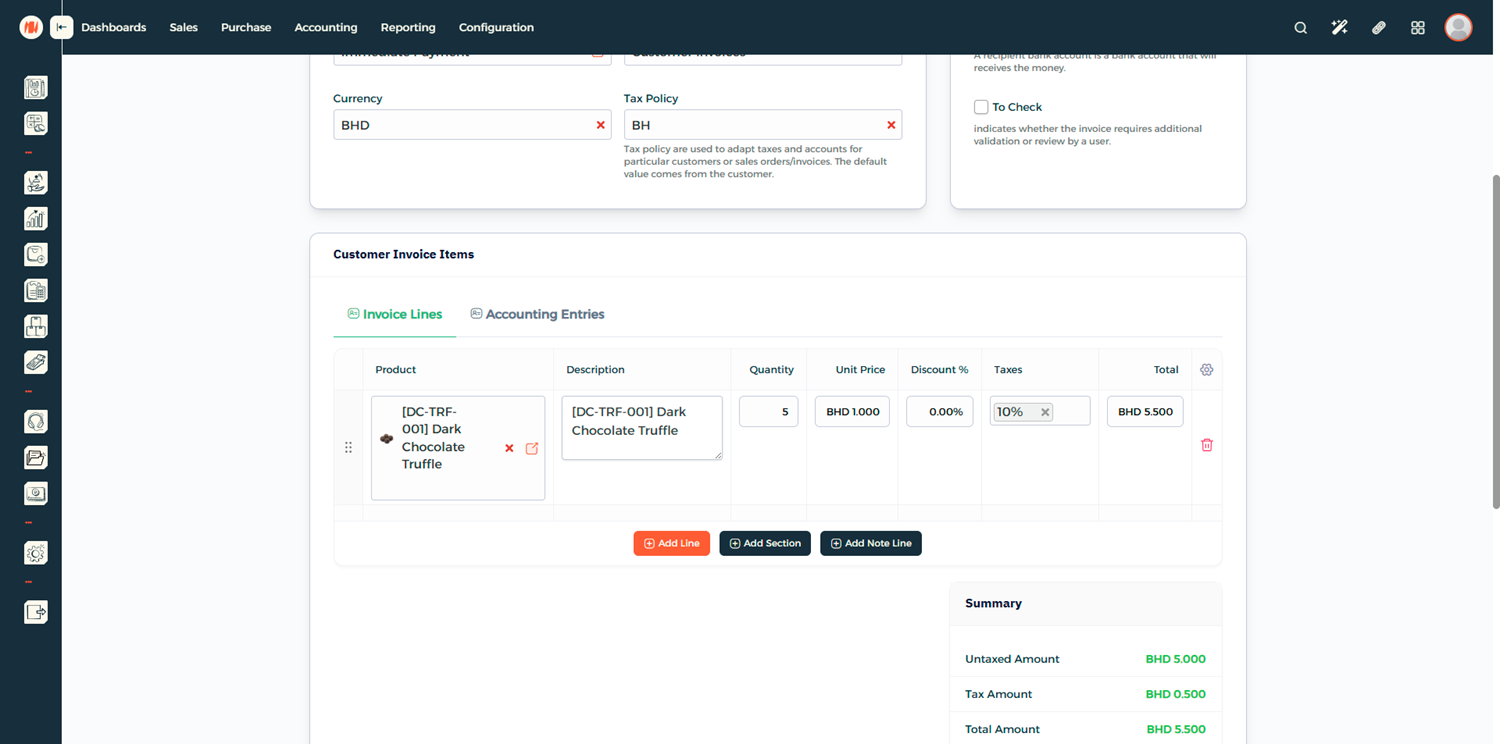
Add your Customer Invoice Items — define what you are billing the customer for.
Step 5: Review Terms and Conditions
Before proceeding, review the Terms and Conditions.

Step 6: Create the Invoice
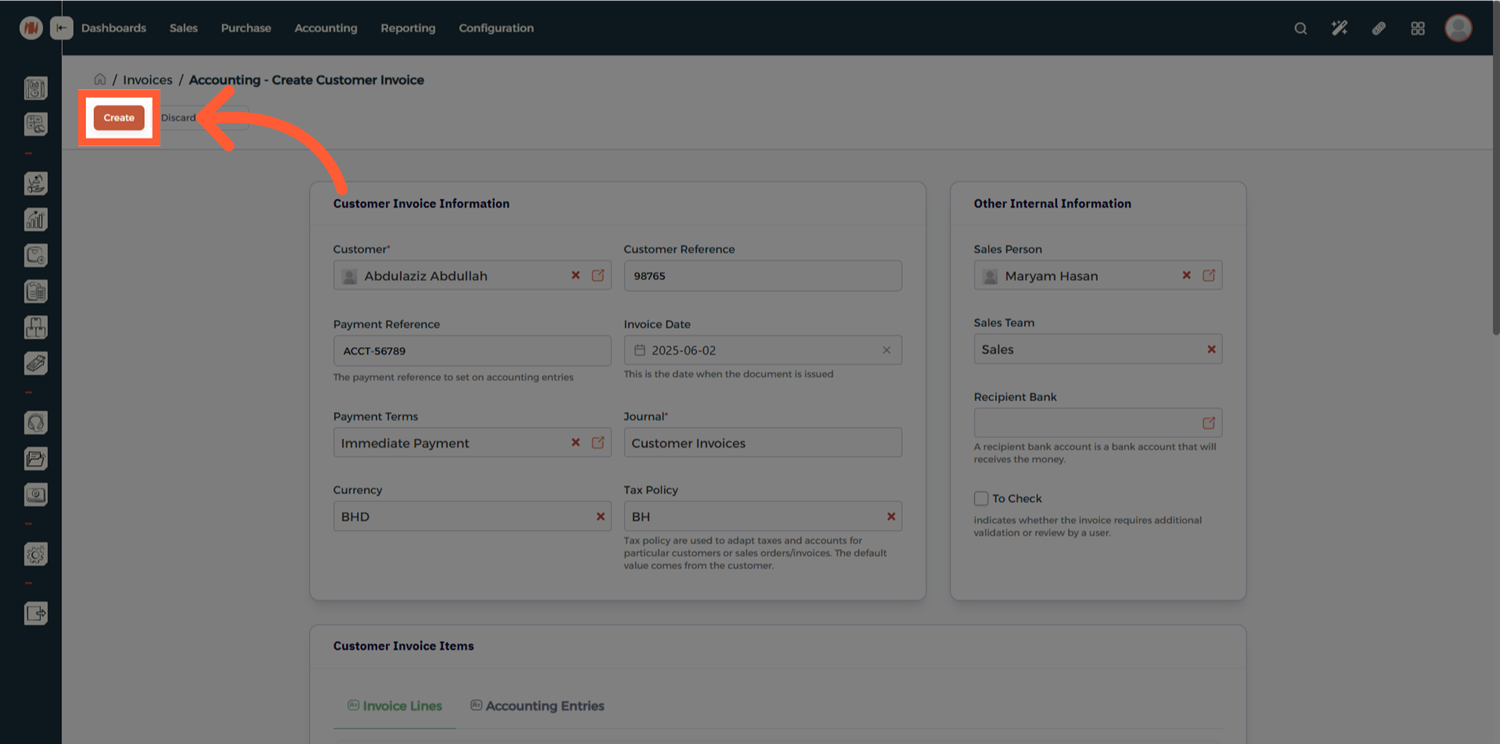
Once everything looks correct, click Create.
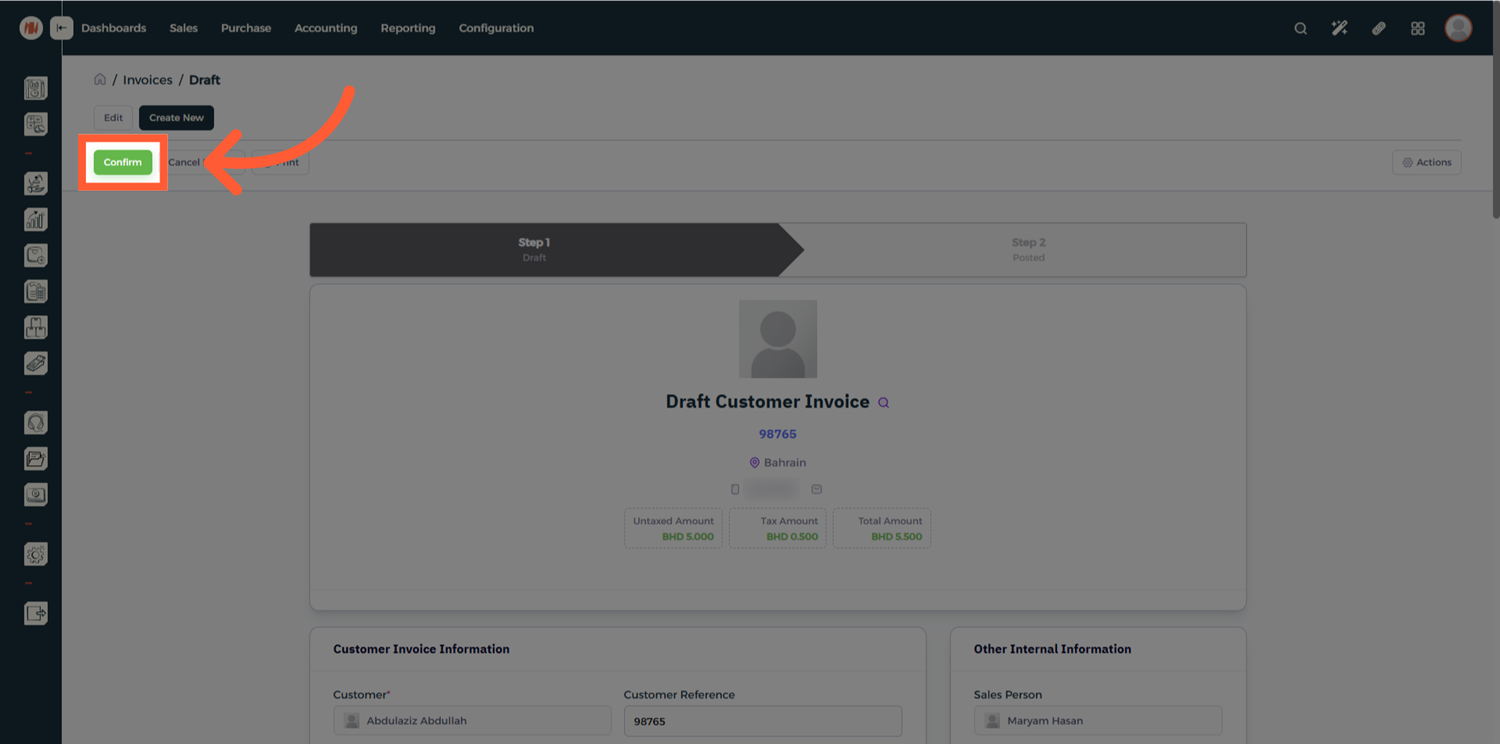
Step 7: Confirm the Invoice
After reviewing the draft invoice, click Confirm to officially issue the invoice.
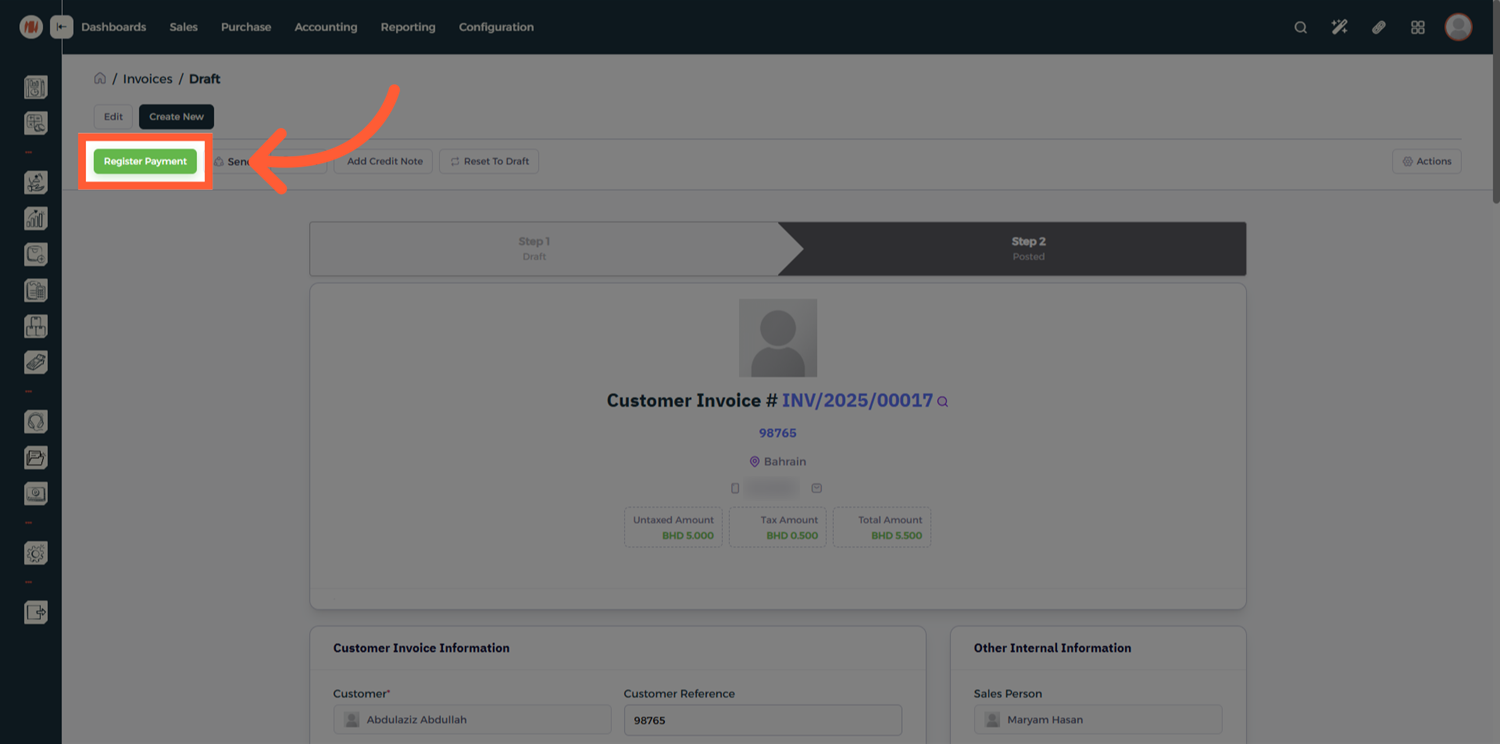
Step 8: Register a Payment
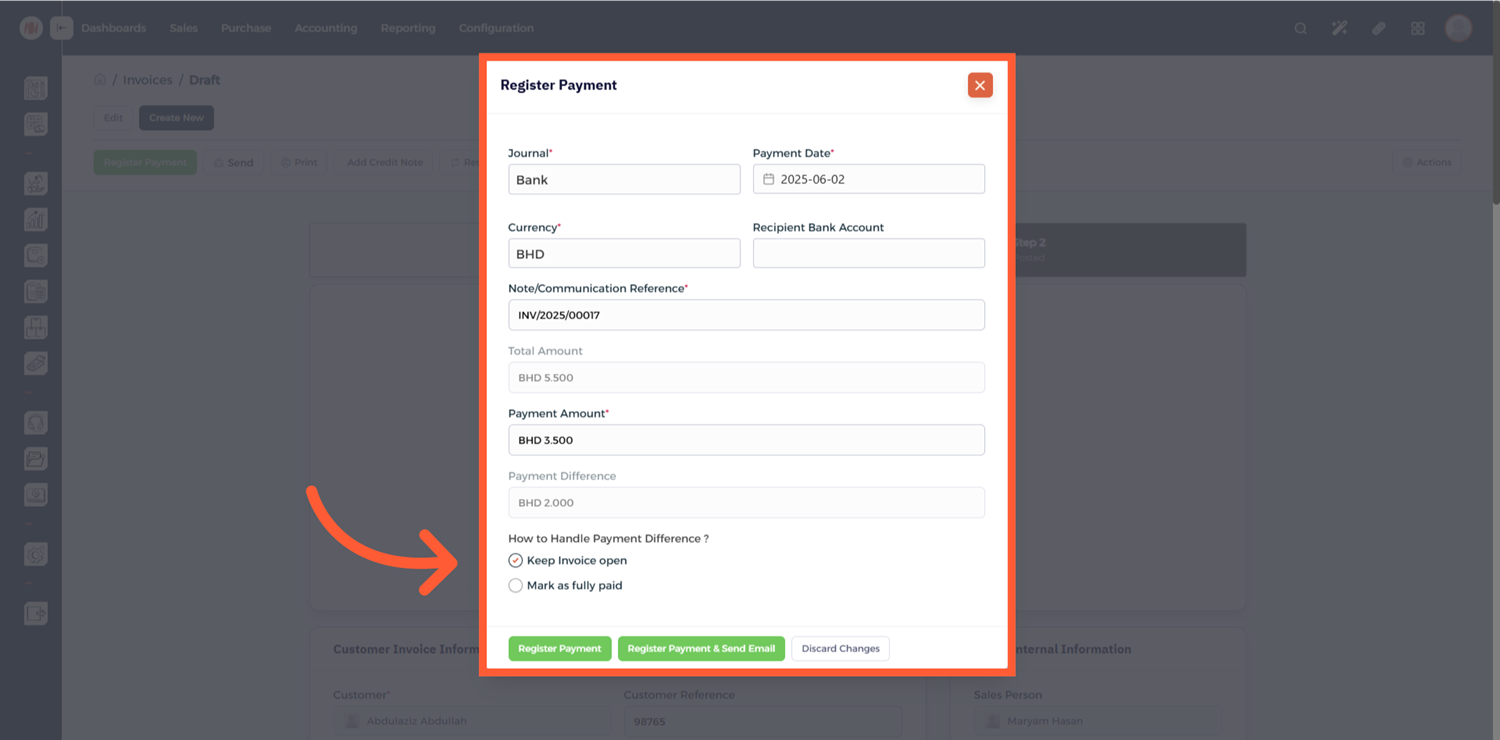
Click Register Payment and enter the payment details.
For partial payments, simply enter the amount received and the system will automatically calculate the remaining balance.
Notes & Tips
- Always review invoices in Draft mode before confirming.
- You can accept multiple partial payments on the same invoice until it is fully settled.
- Sending invoices by email or WhatsApp allows faster communication.
FAQ
Q: Can I edit an invoice after confirming it? Yes. You can reset the invoice to Draft mode, make changes, and confirm it again.
Q: Can I accept partial payments on an invoice? Yes. The system automatically calculates the remaining balance when a partial payment is registered.
Q: Can I refund an invoice after it's paid? Yes. You can issue a credit note from the invoice.