How to Schedule Repair Appointments for Service Centers and Workshops
Learn how to organize repair bookings, allocate resources, and improve service efficiency.
Step-by-Step Process
Step 1: Navigate to Garage Management
From the Main Menu, look at the top right corner then click on All apps. Then Select Garage Management.

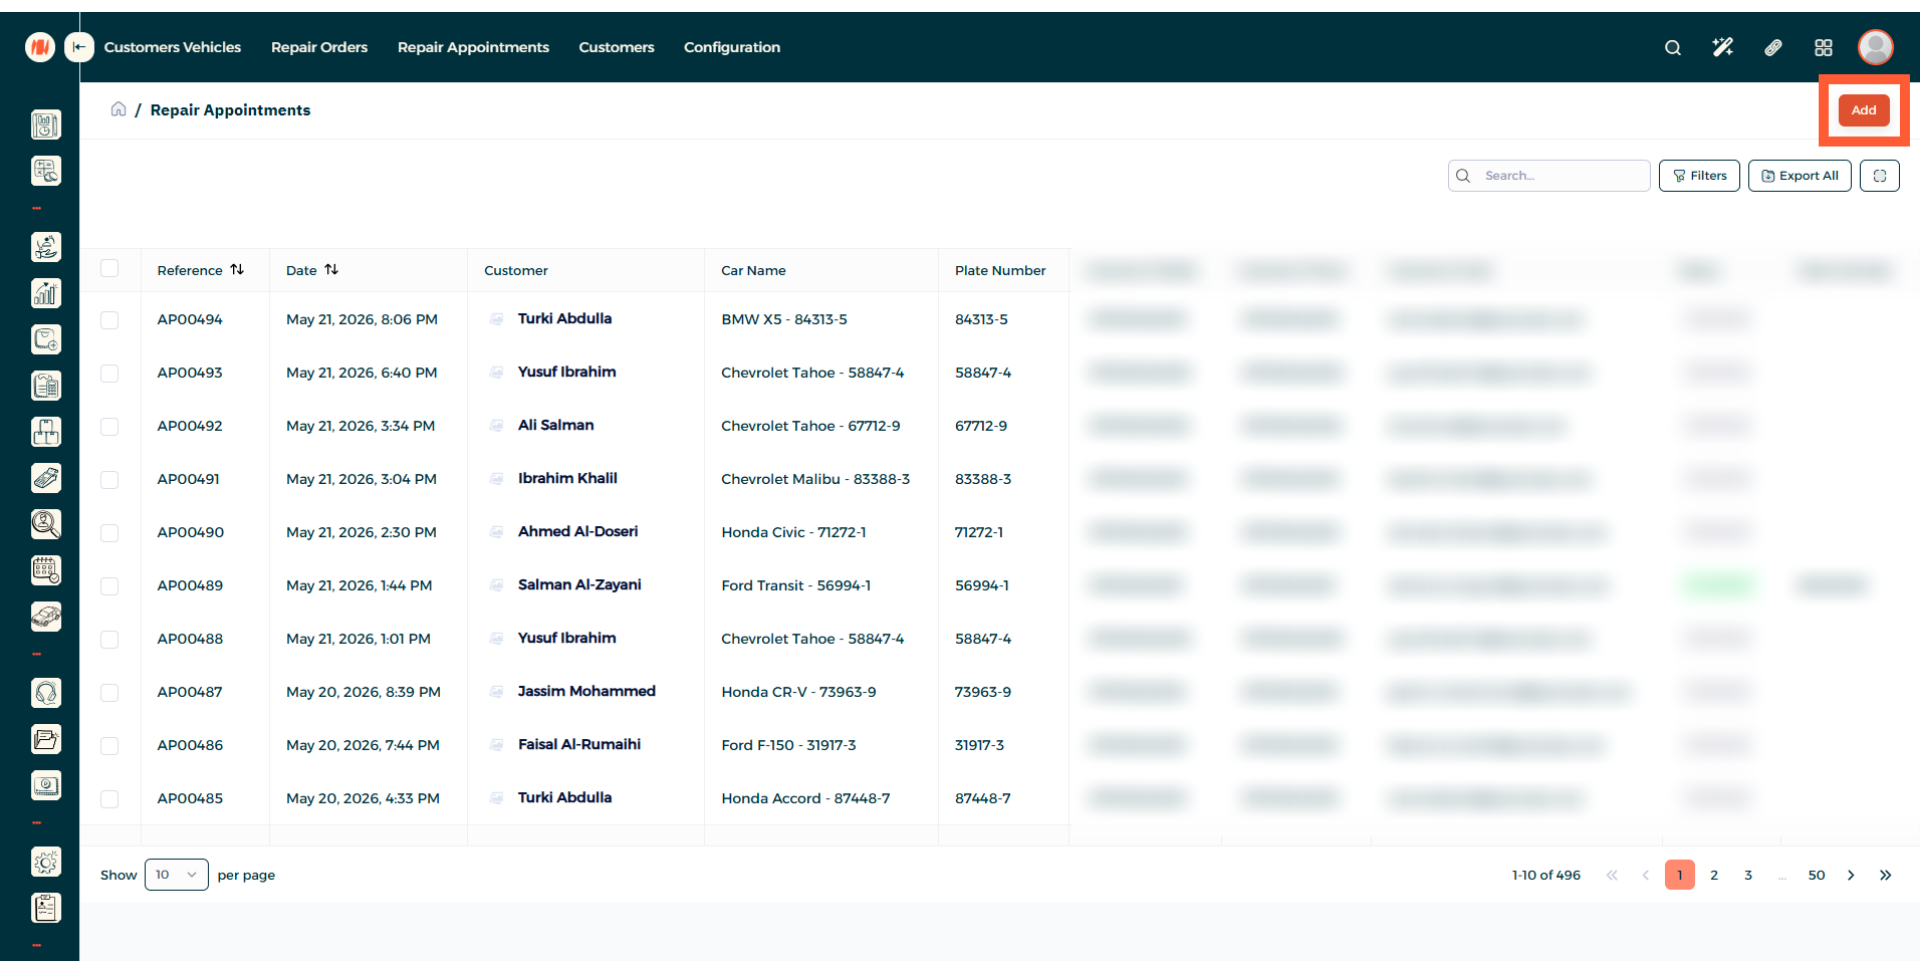
Step 2: Navigate to Repair Appointments

Step 3: Add a Repair Appointment
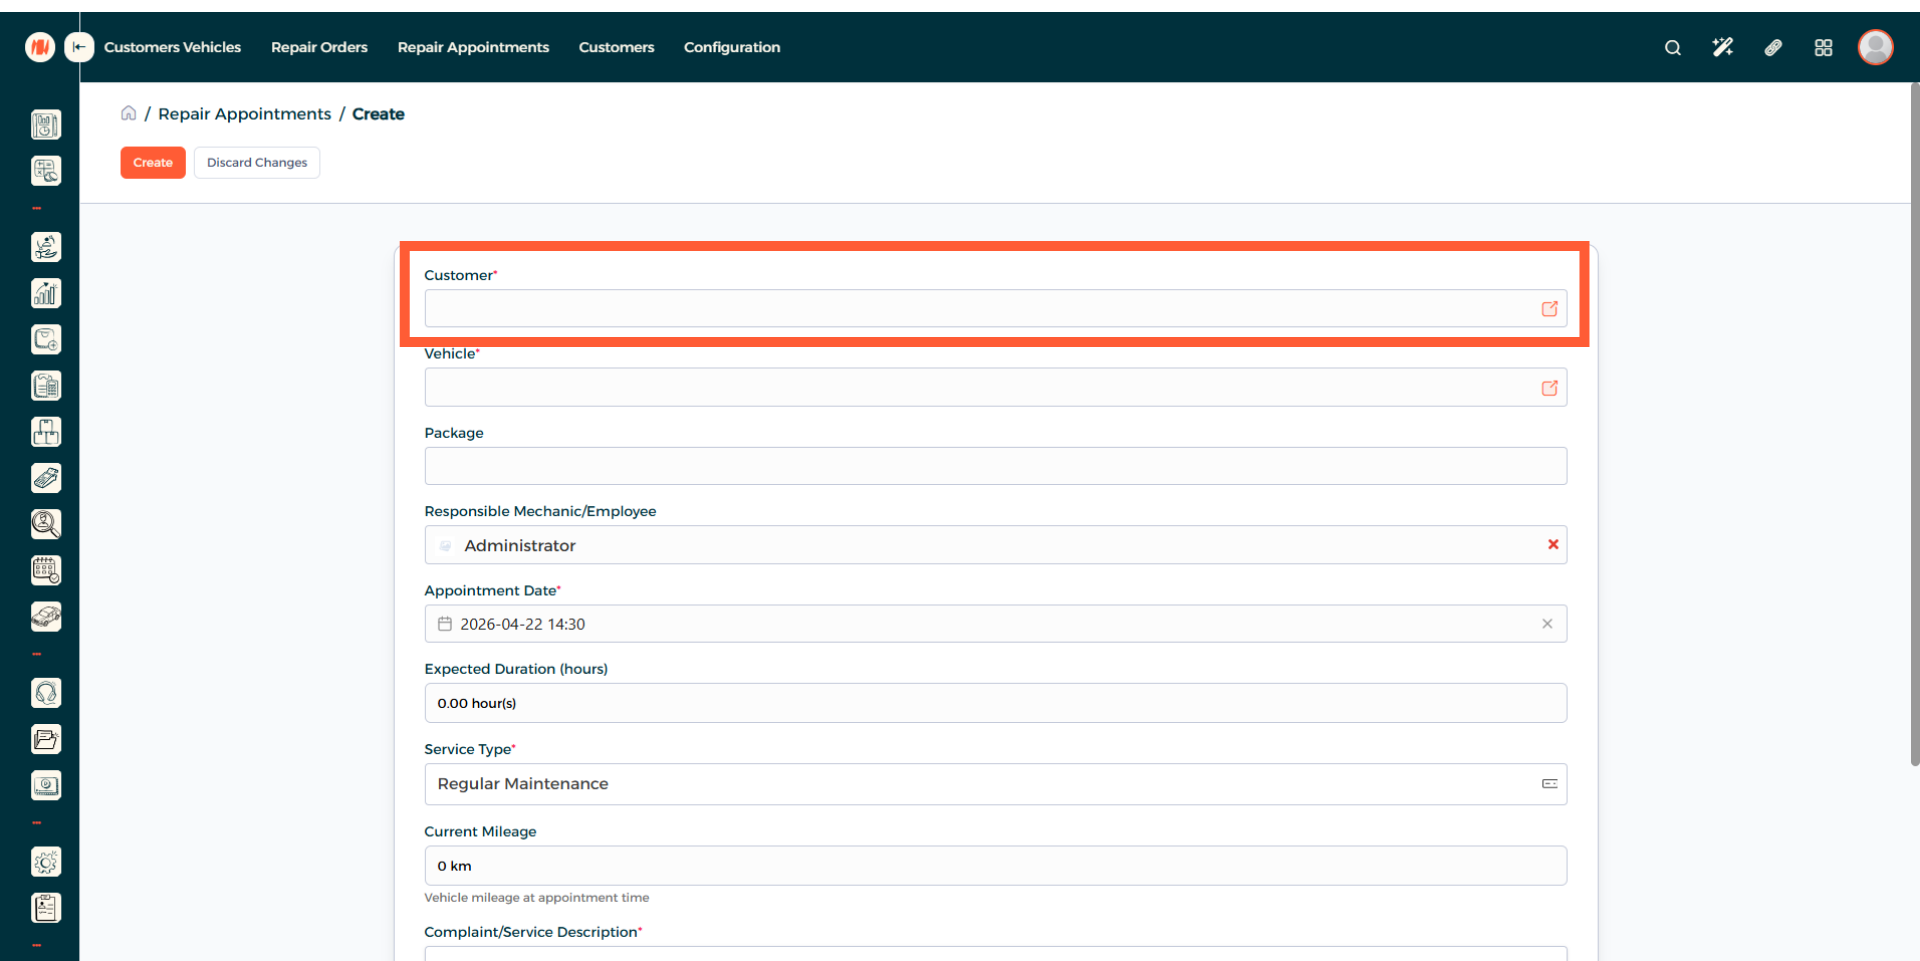
Step 4: Select a Customer
Select an existing customer, you can create a new one if needed.
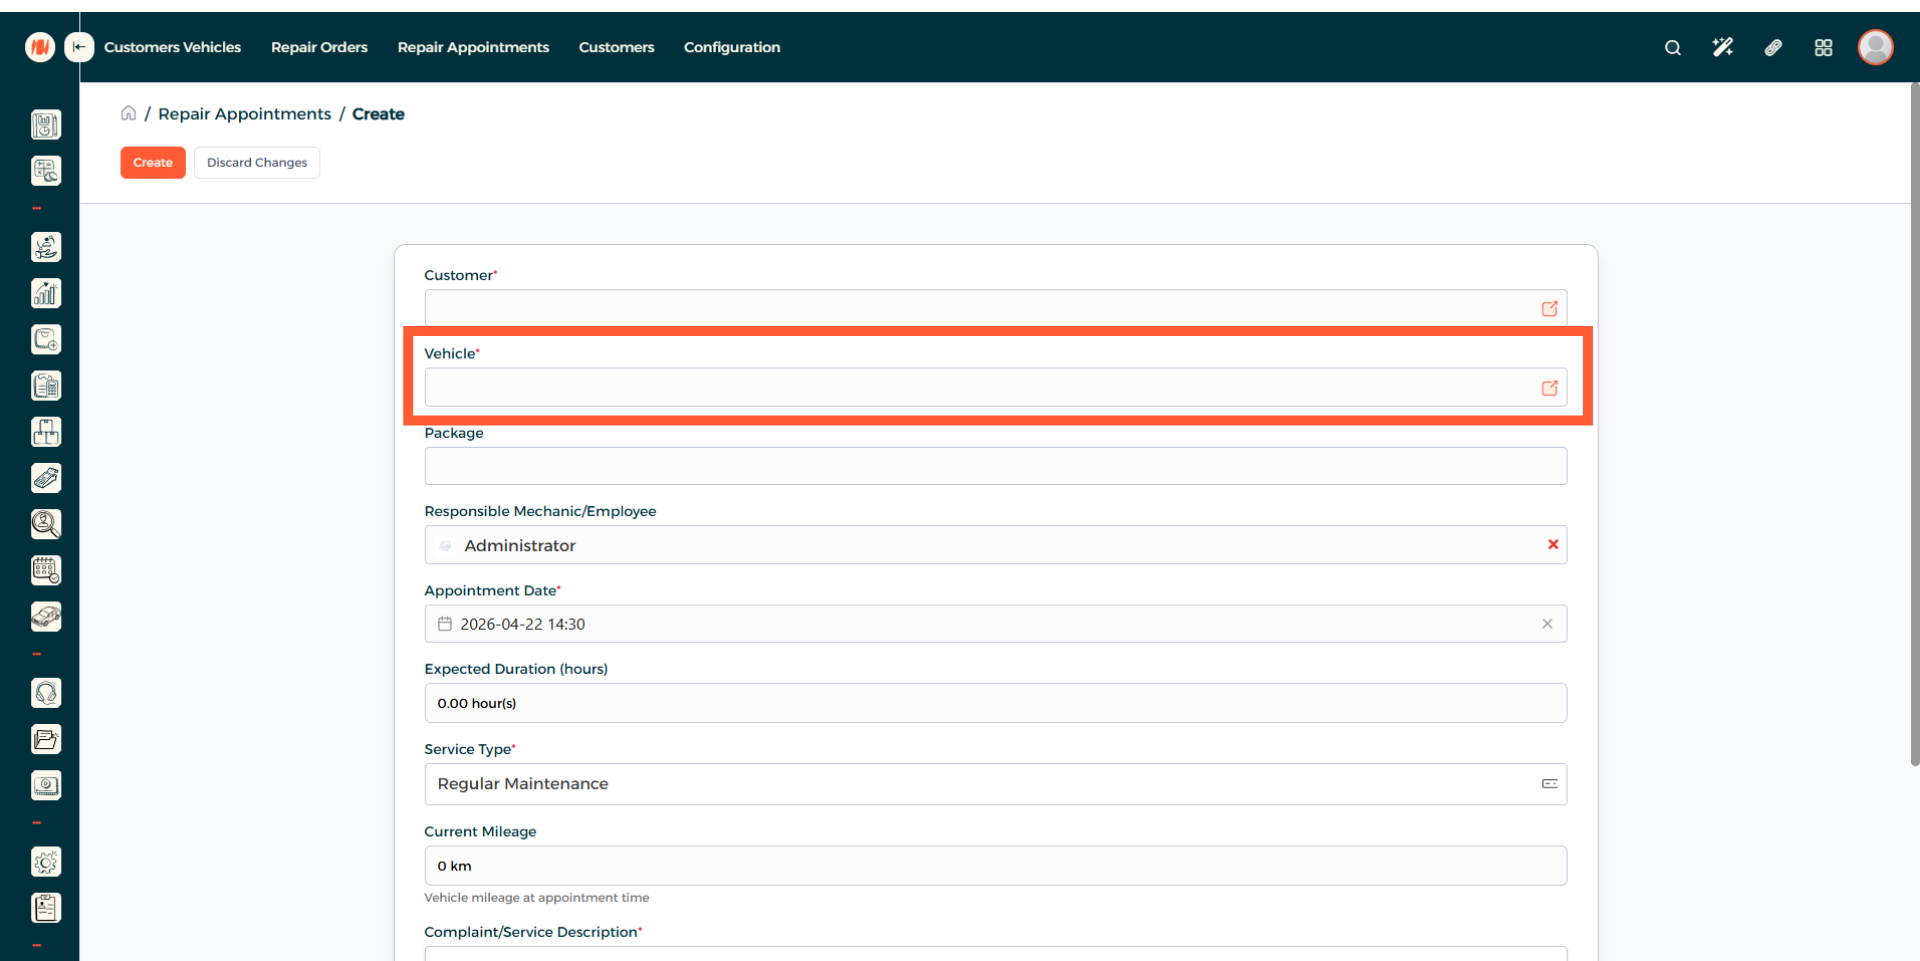
Step 5: Add a Vehicle
When you added your existing customer, the vehicle registered to them will appear automatically. If they have more than one, then select the preferred vehicle.
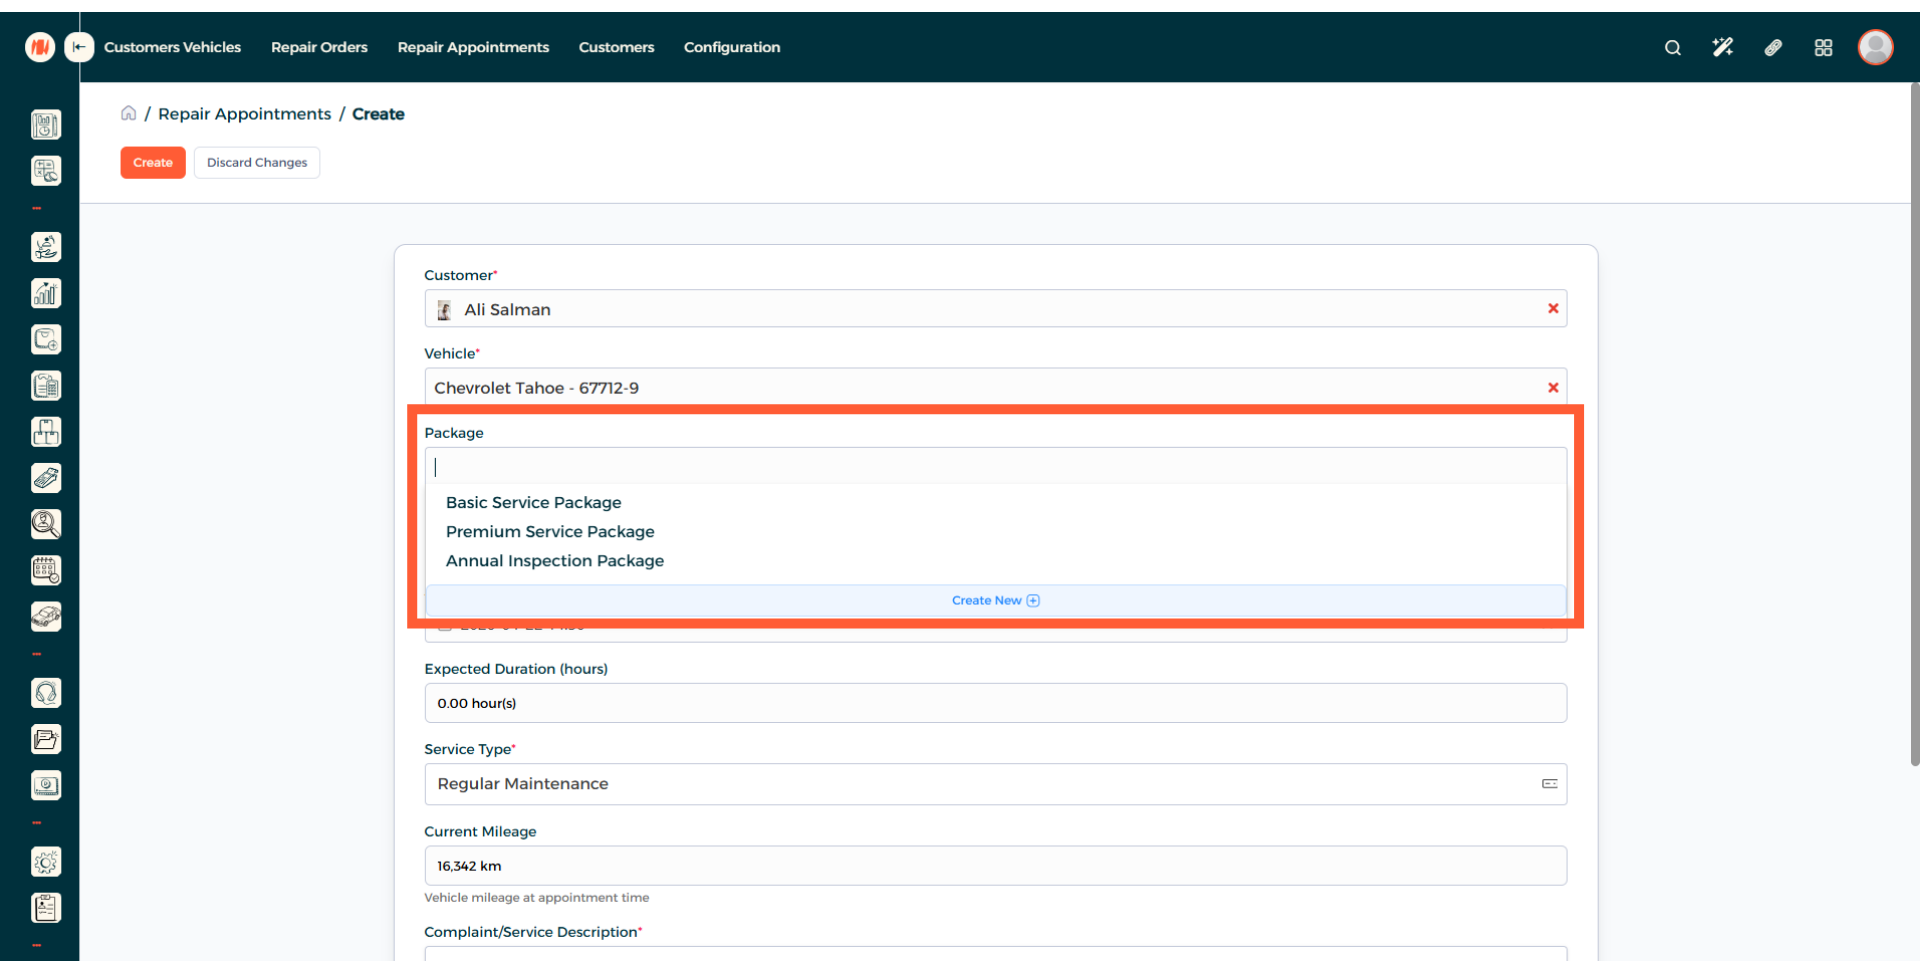
Step 6: Add a Package
You can add an existing package or create a new one.
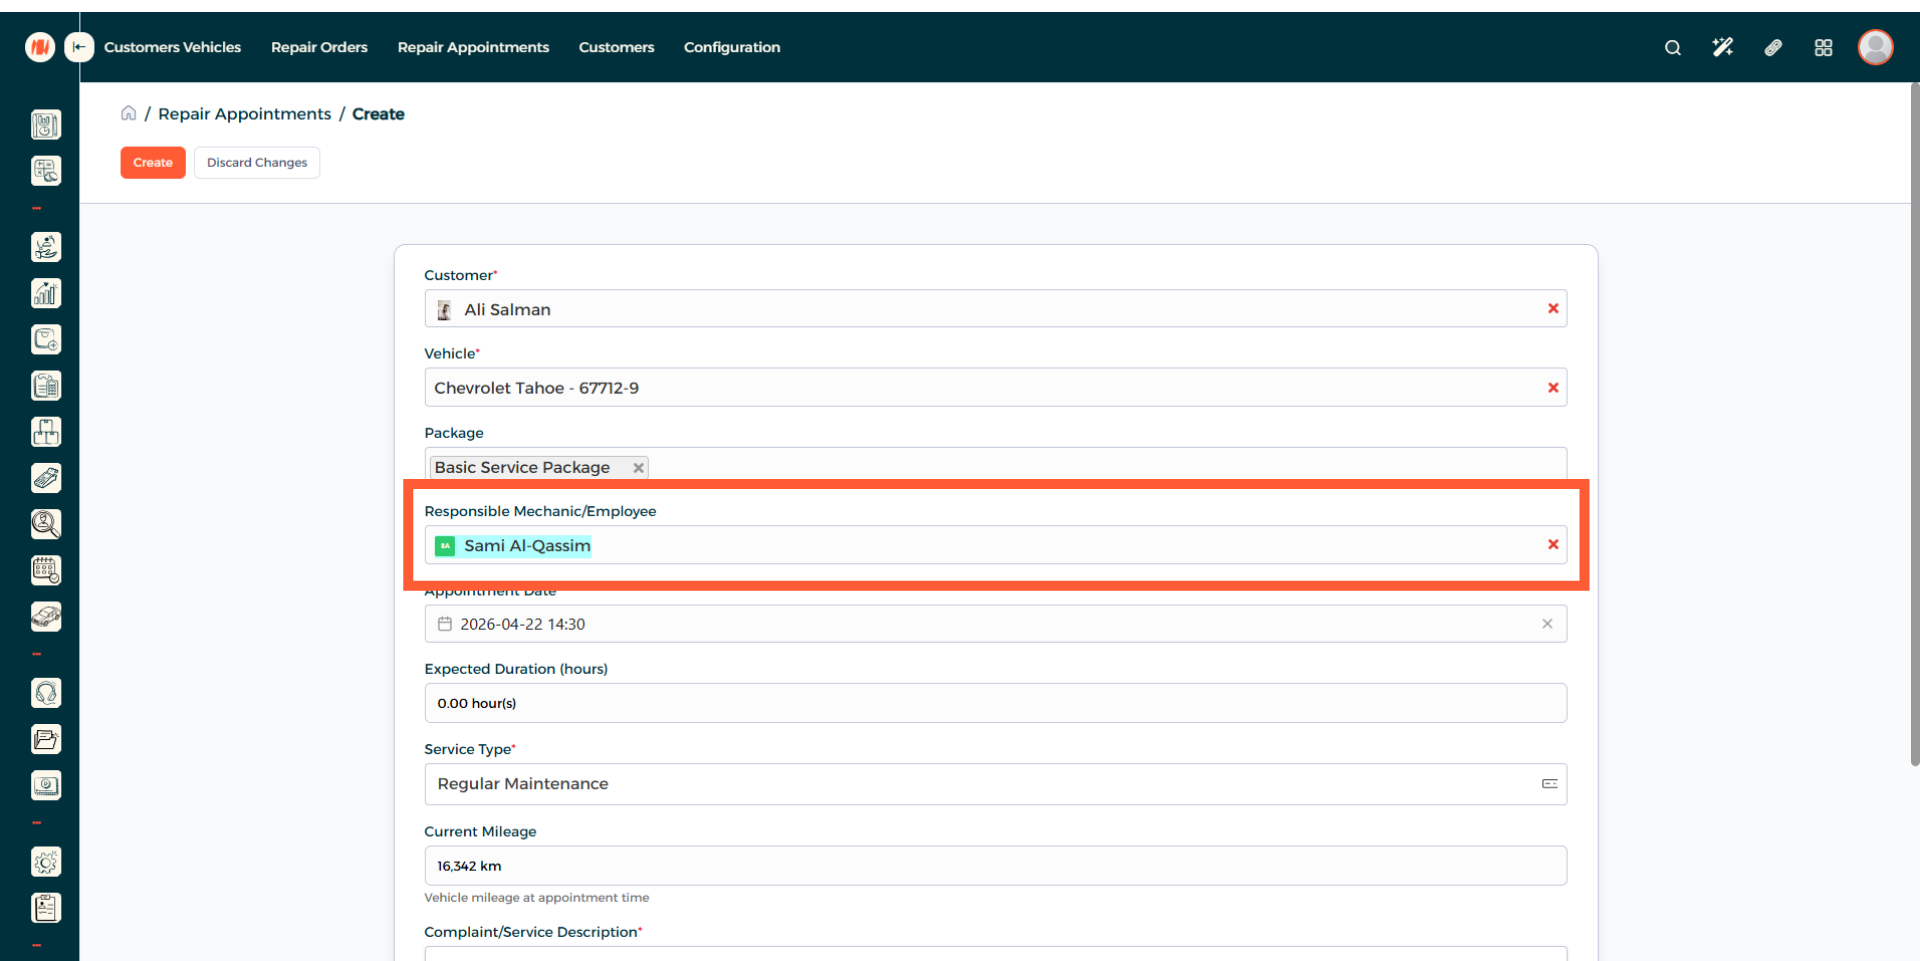
Step 7: Select Employee
Specify which mechanic or employee will be in charge of the job.
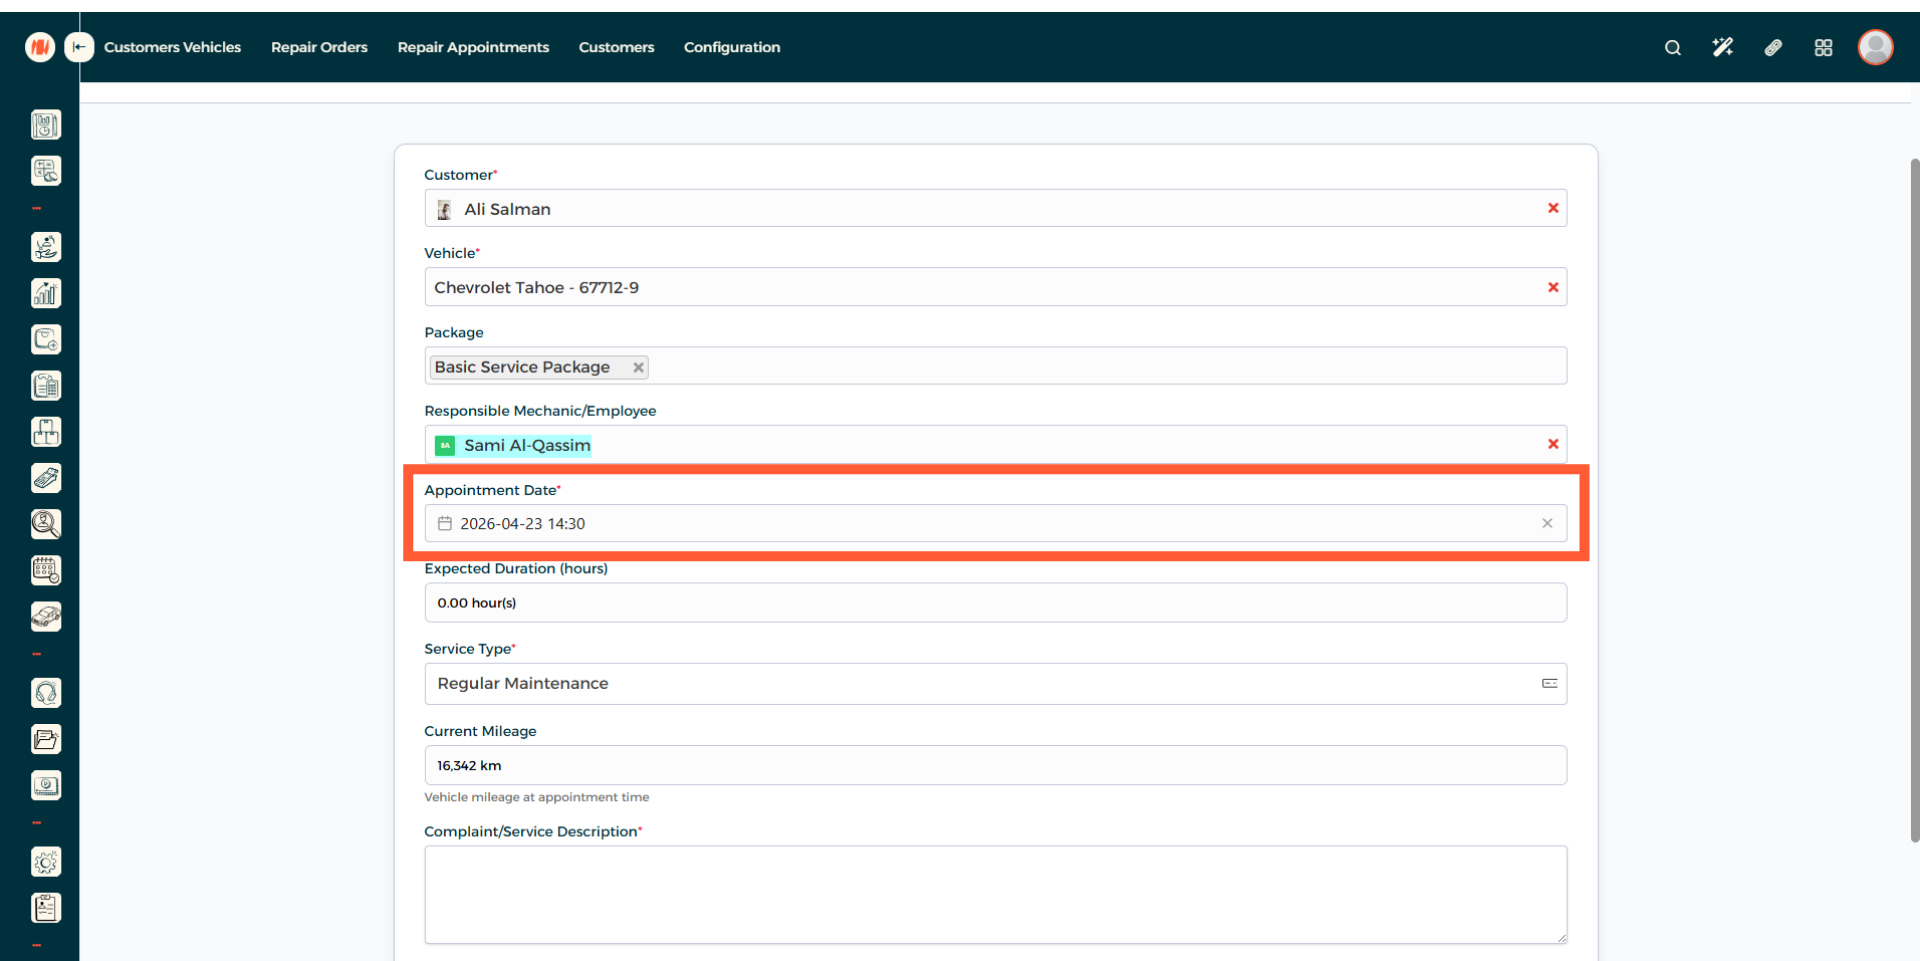
Step 8: Choose Repair Appointment Date and Time
Step 9: Specify Expected Duration (Hours)

Step 10: Select Service Type

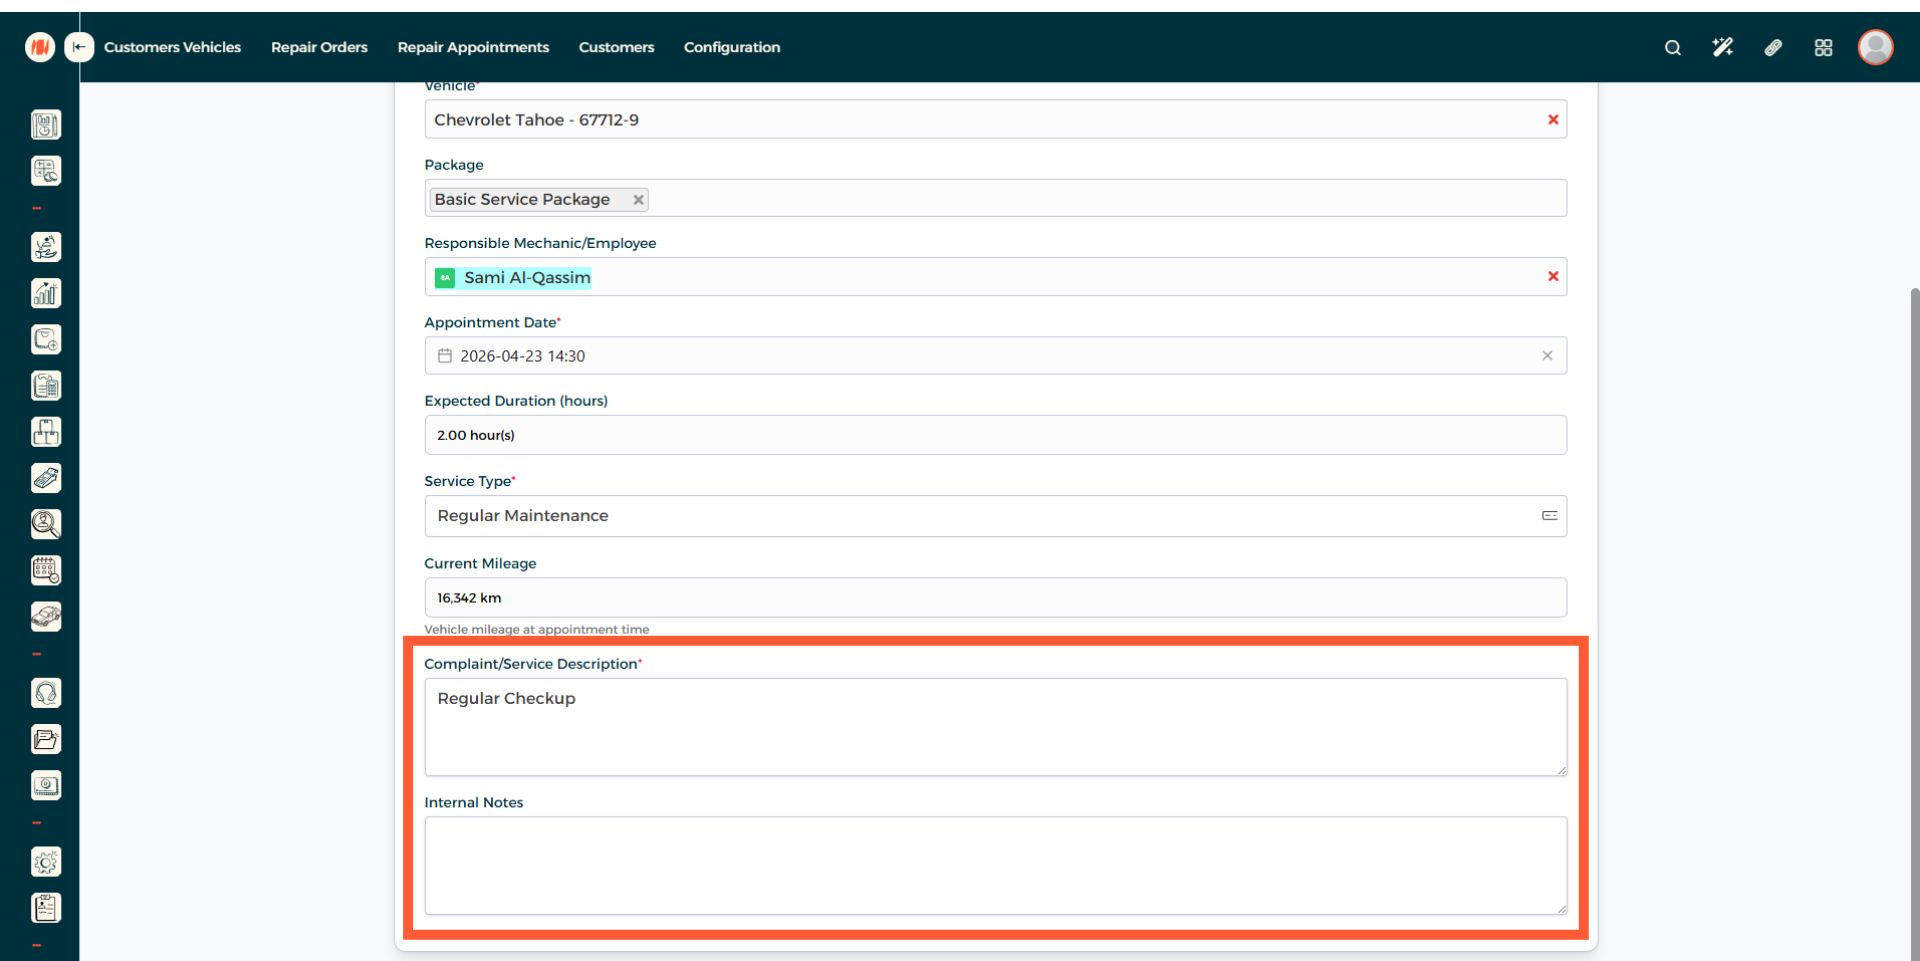
Step 11: Final Details
Add any customer complaints or a service description, alongside any internal notes.
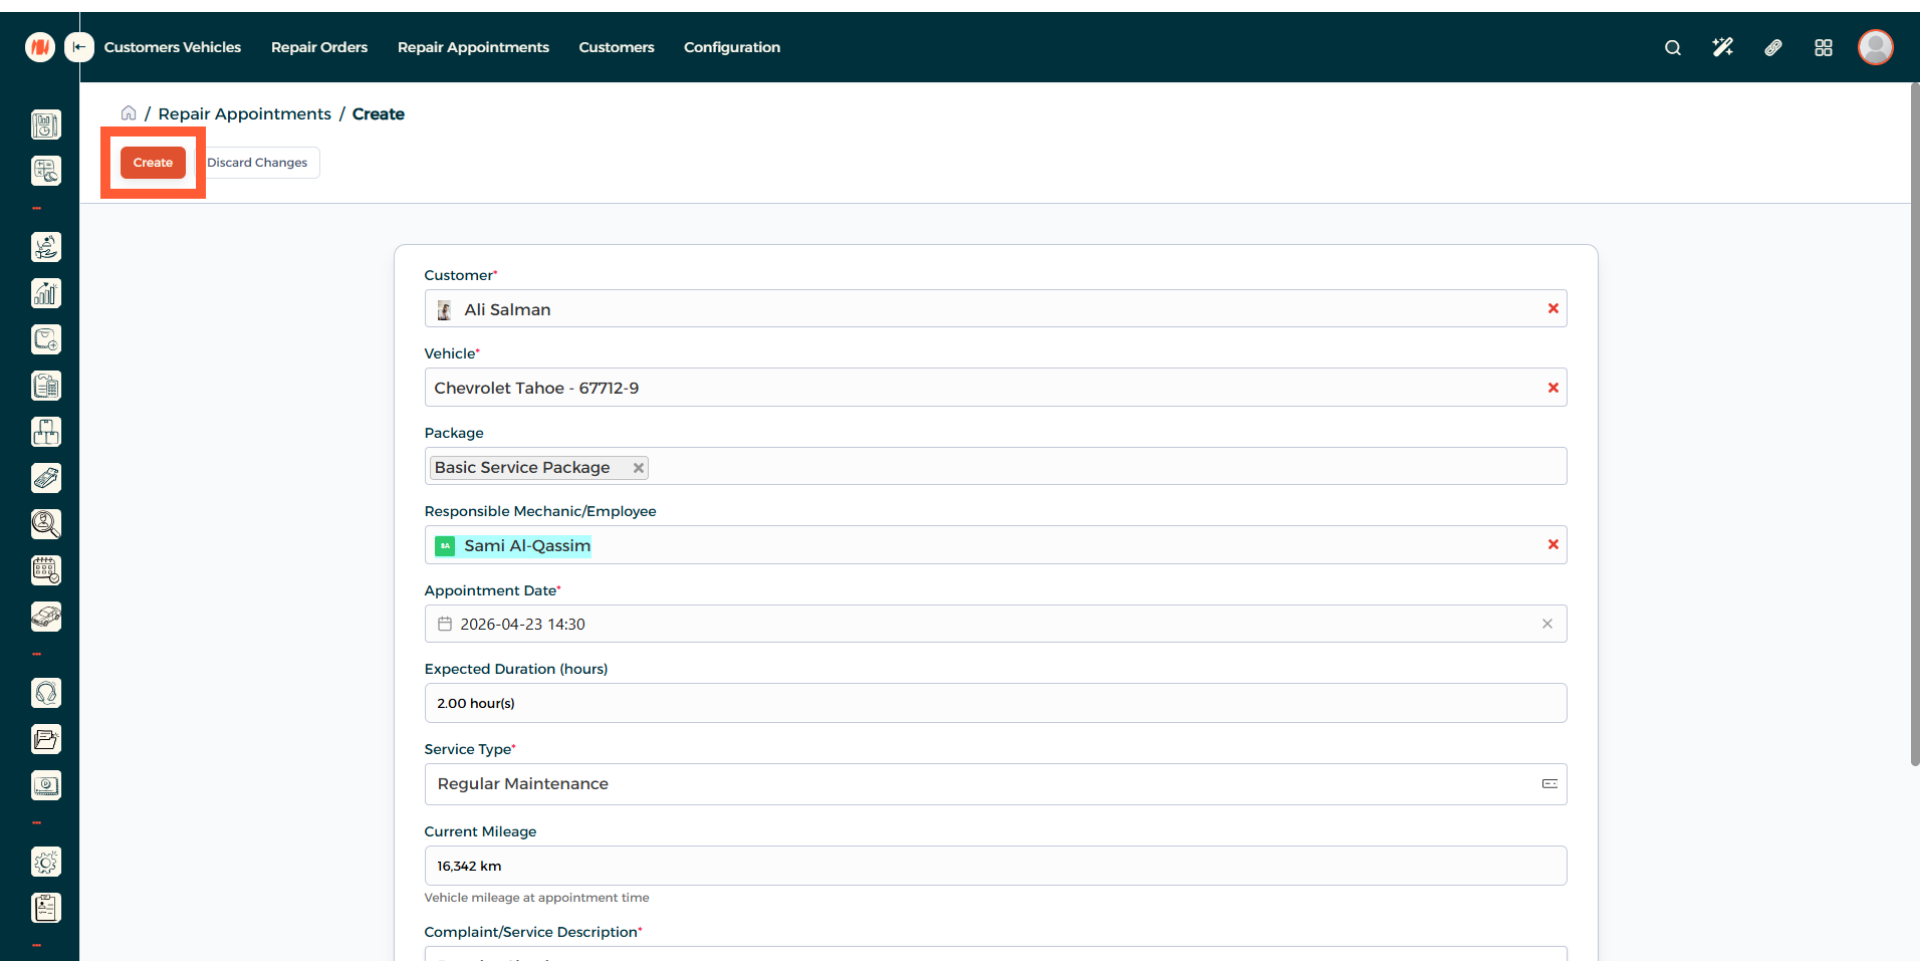
Step 12: Create Repair Appointment
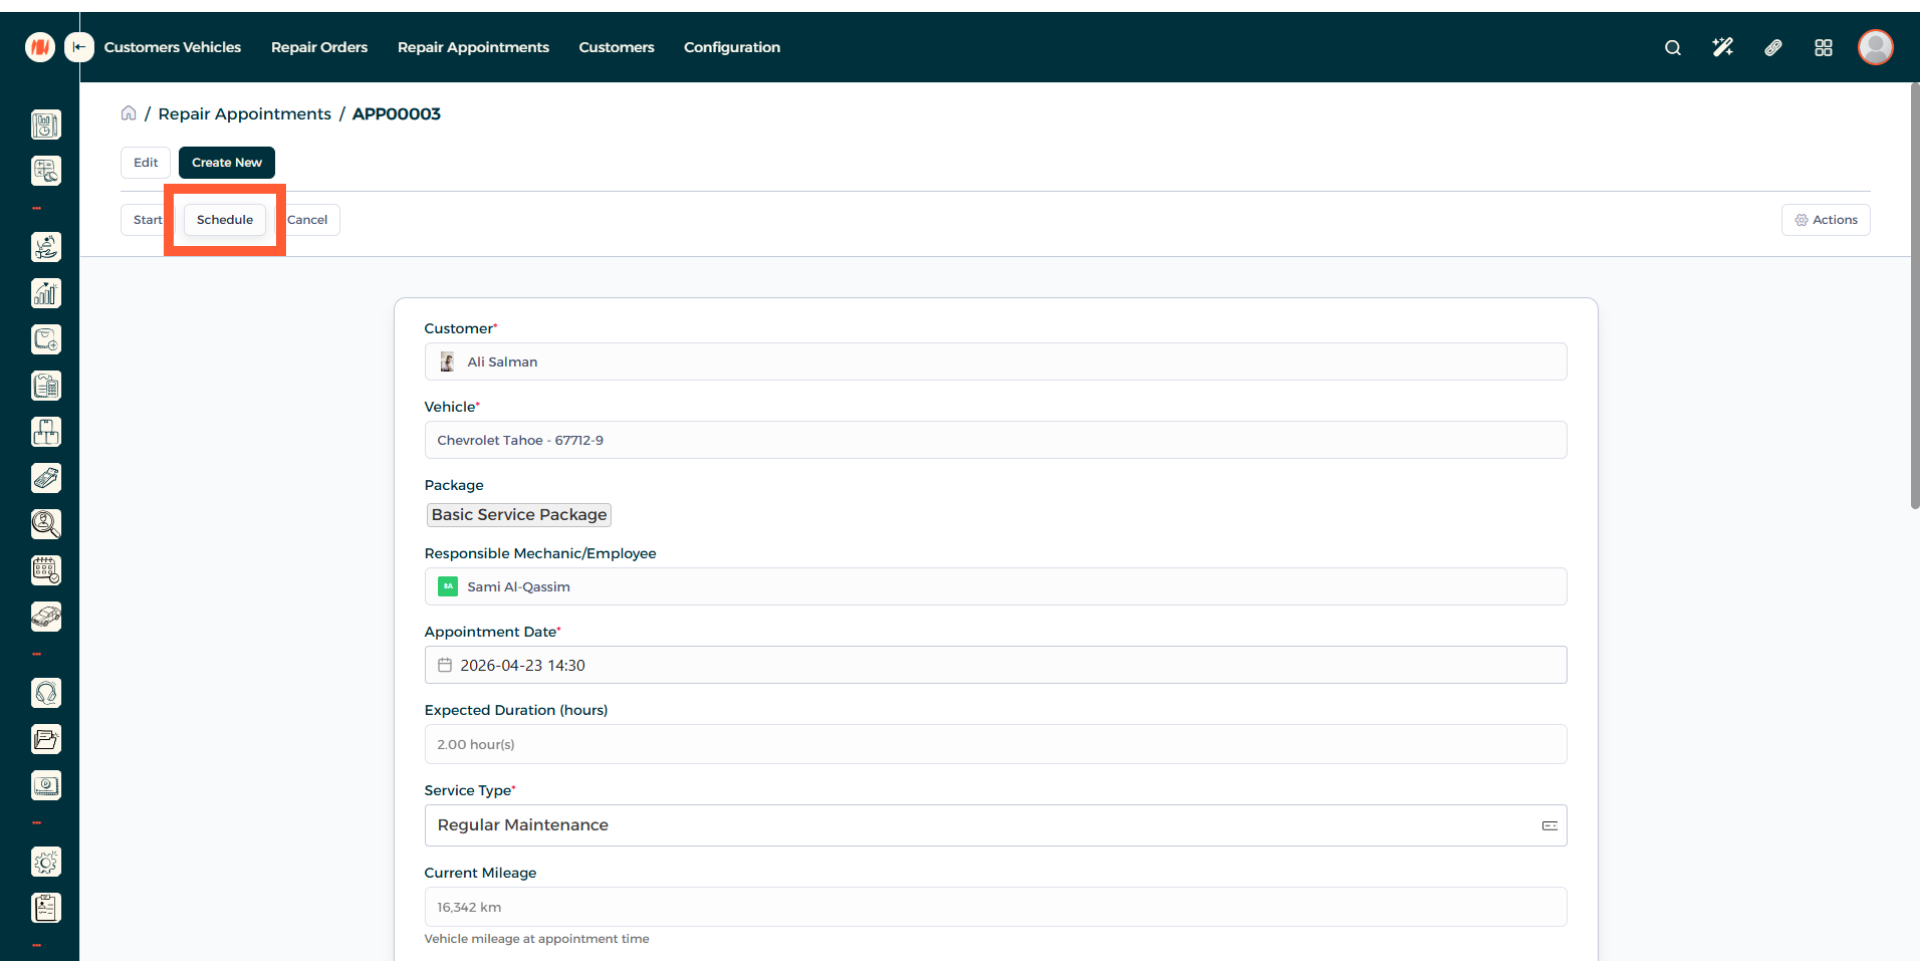
Step 13: Schedule Repair Appointment
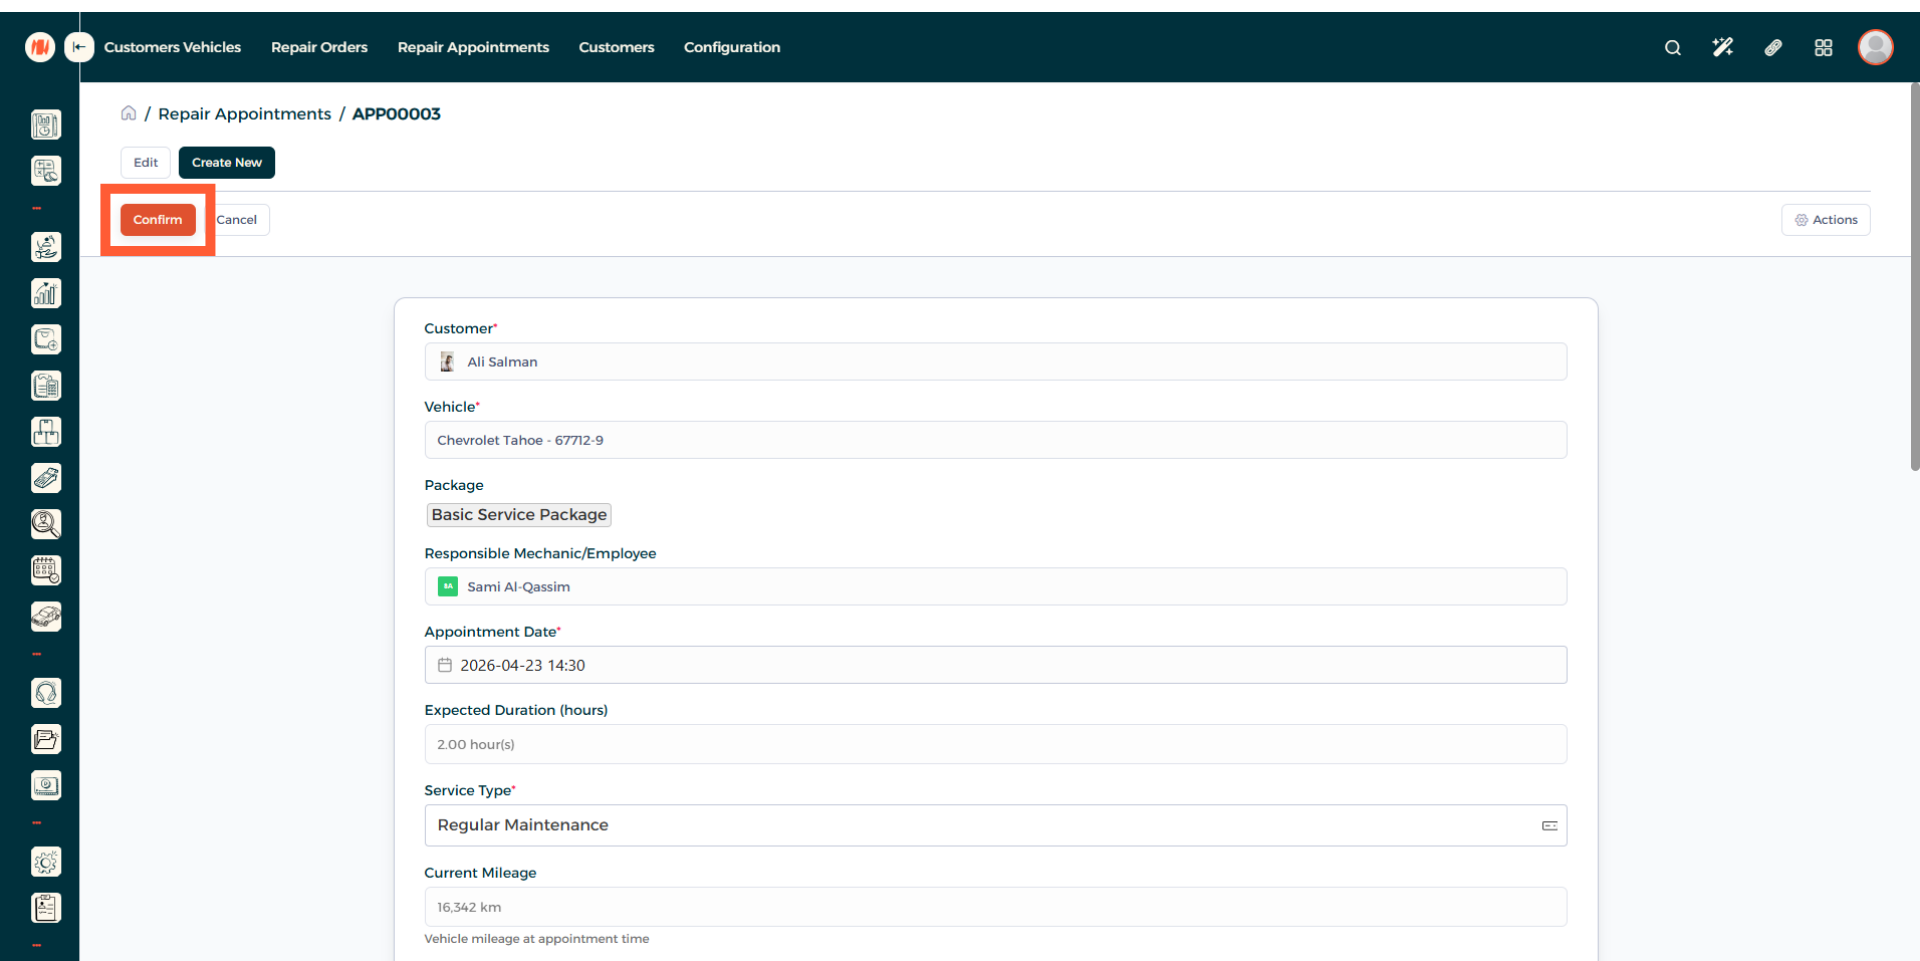
Step 14: Confirm Repair Appointment
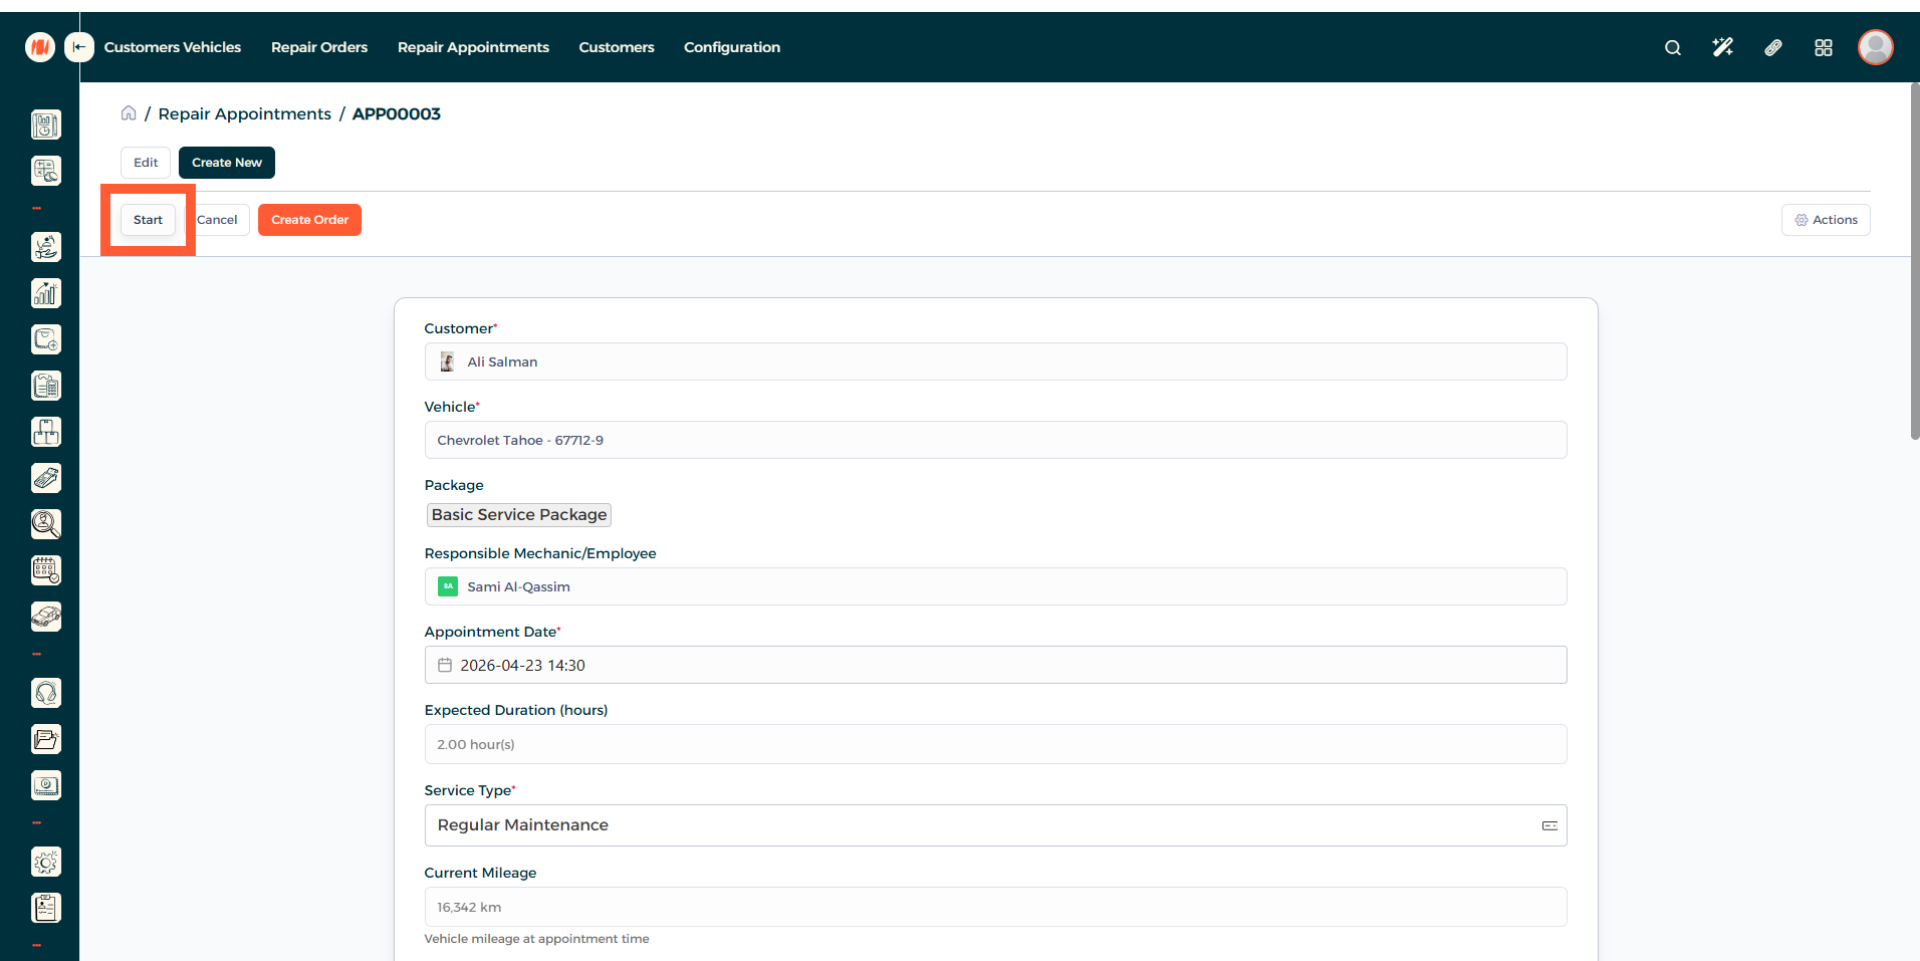
Step 15: Start Repair Appointment
Step 16: Complete Repair Appointment

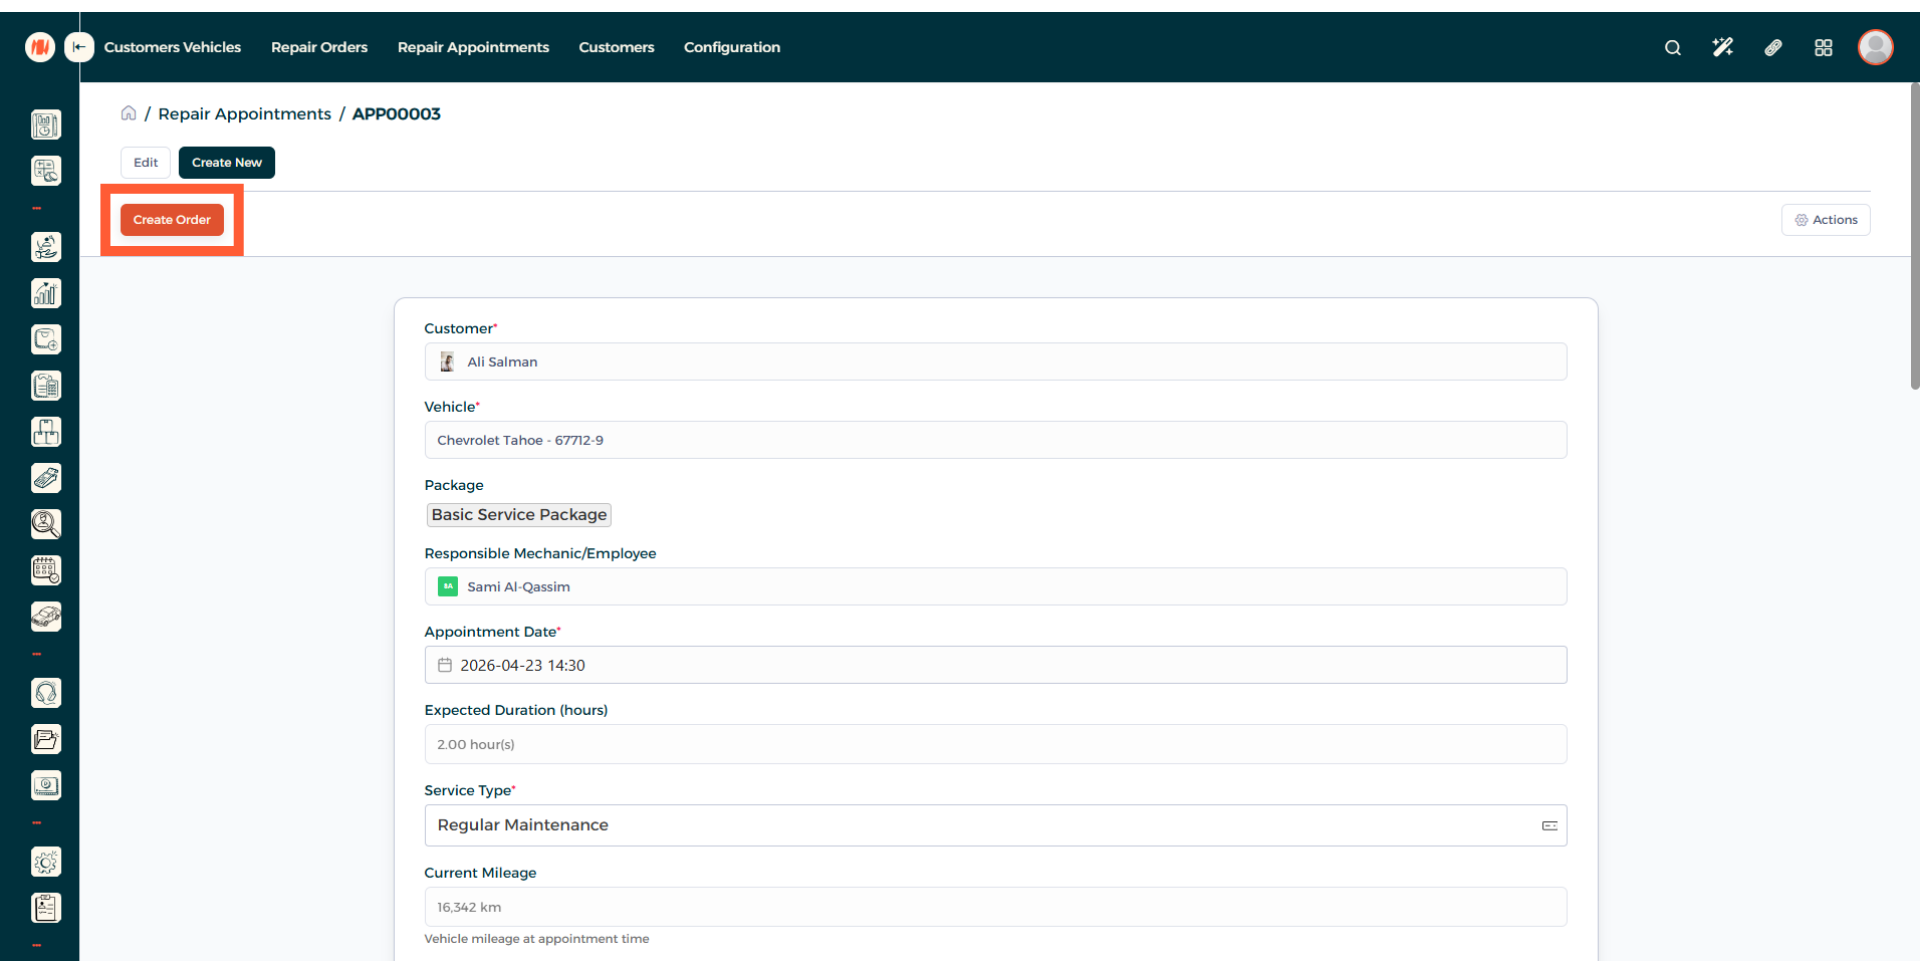
Step 17: Create Repair Order
Now after the repair appointment is complete, turn it to a repair order to finalize everything.
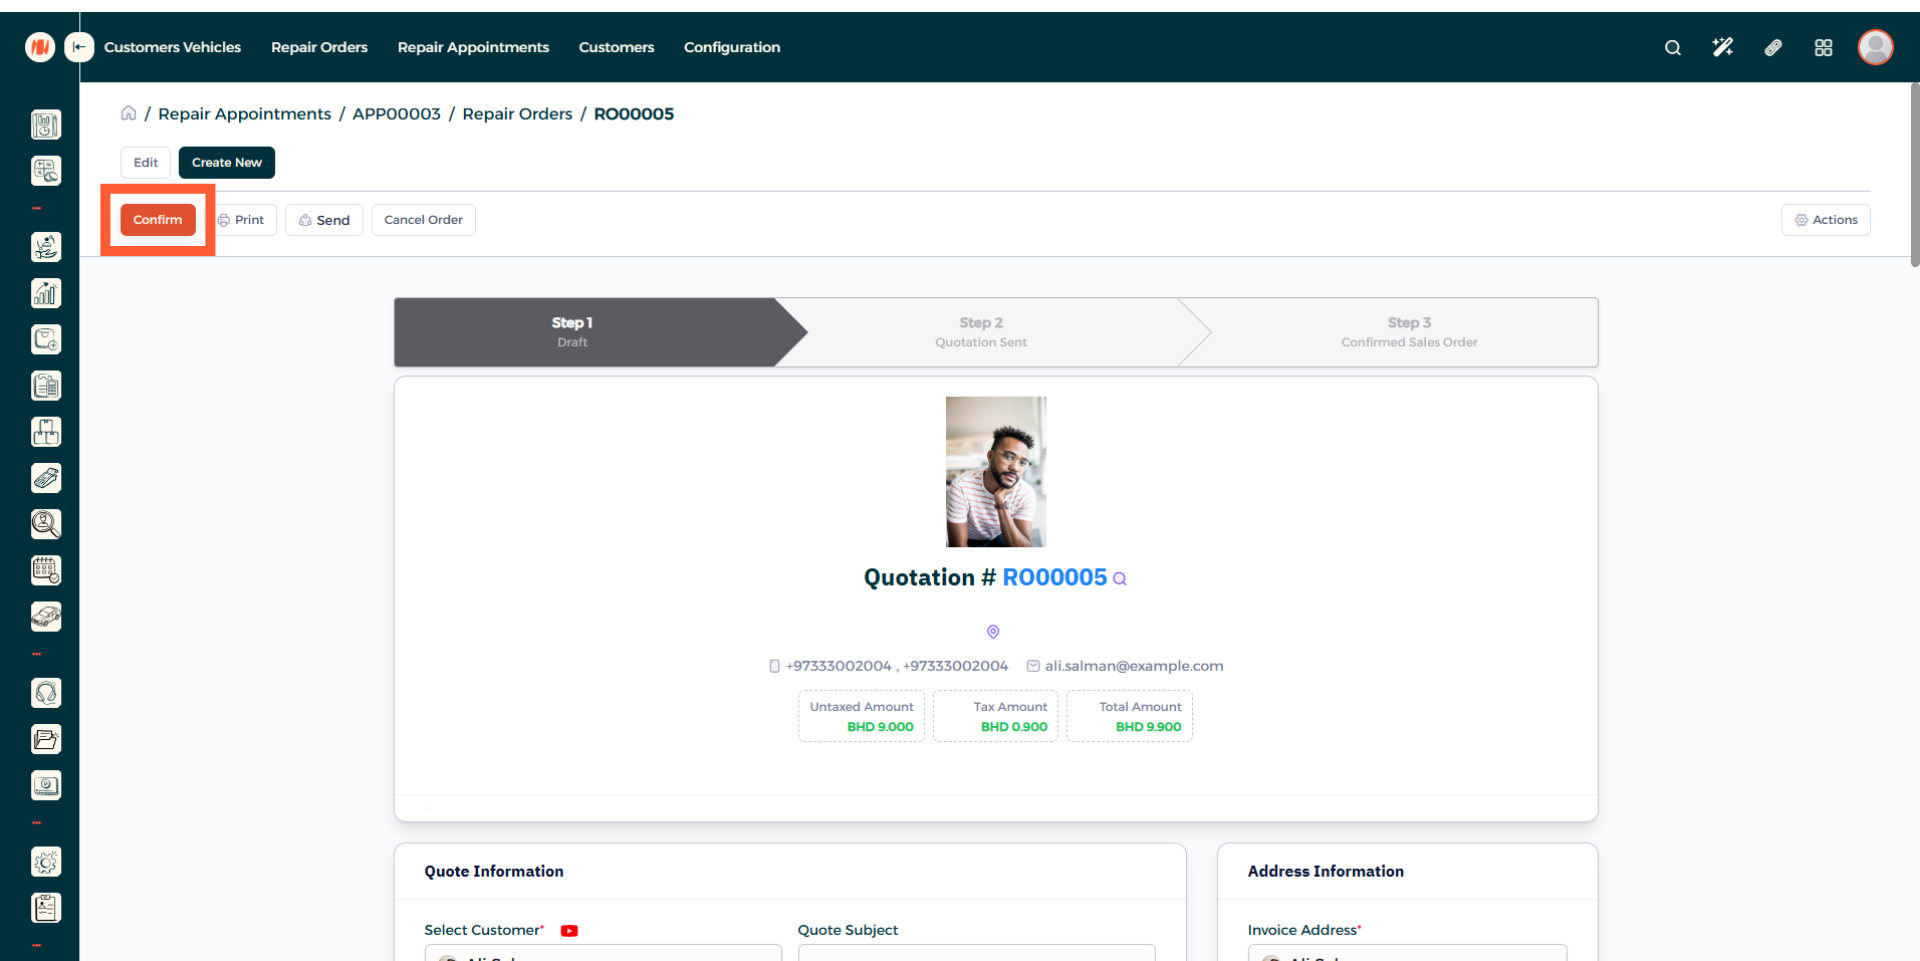
Step 18: Confirm Repair Order
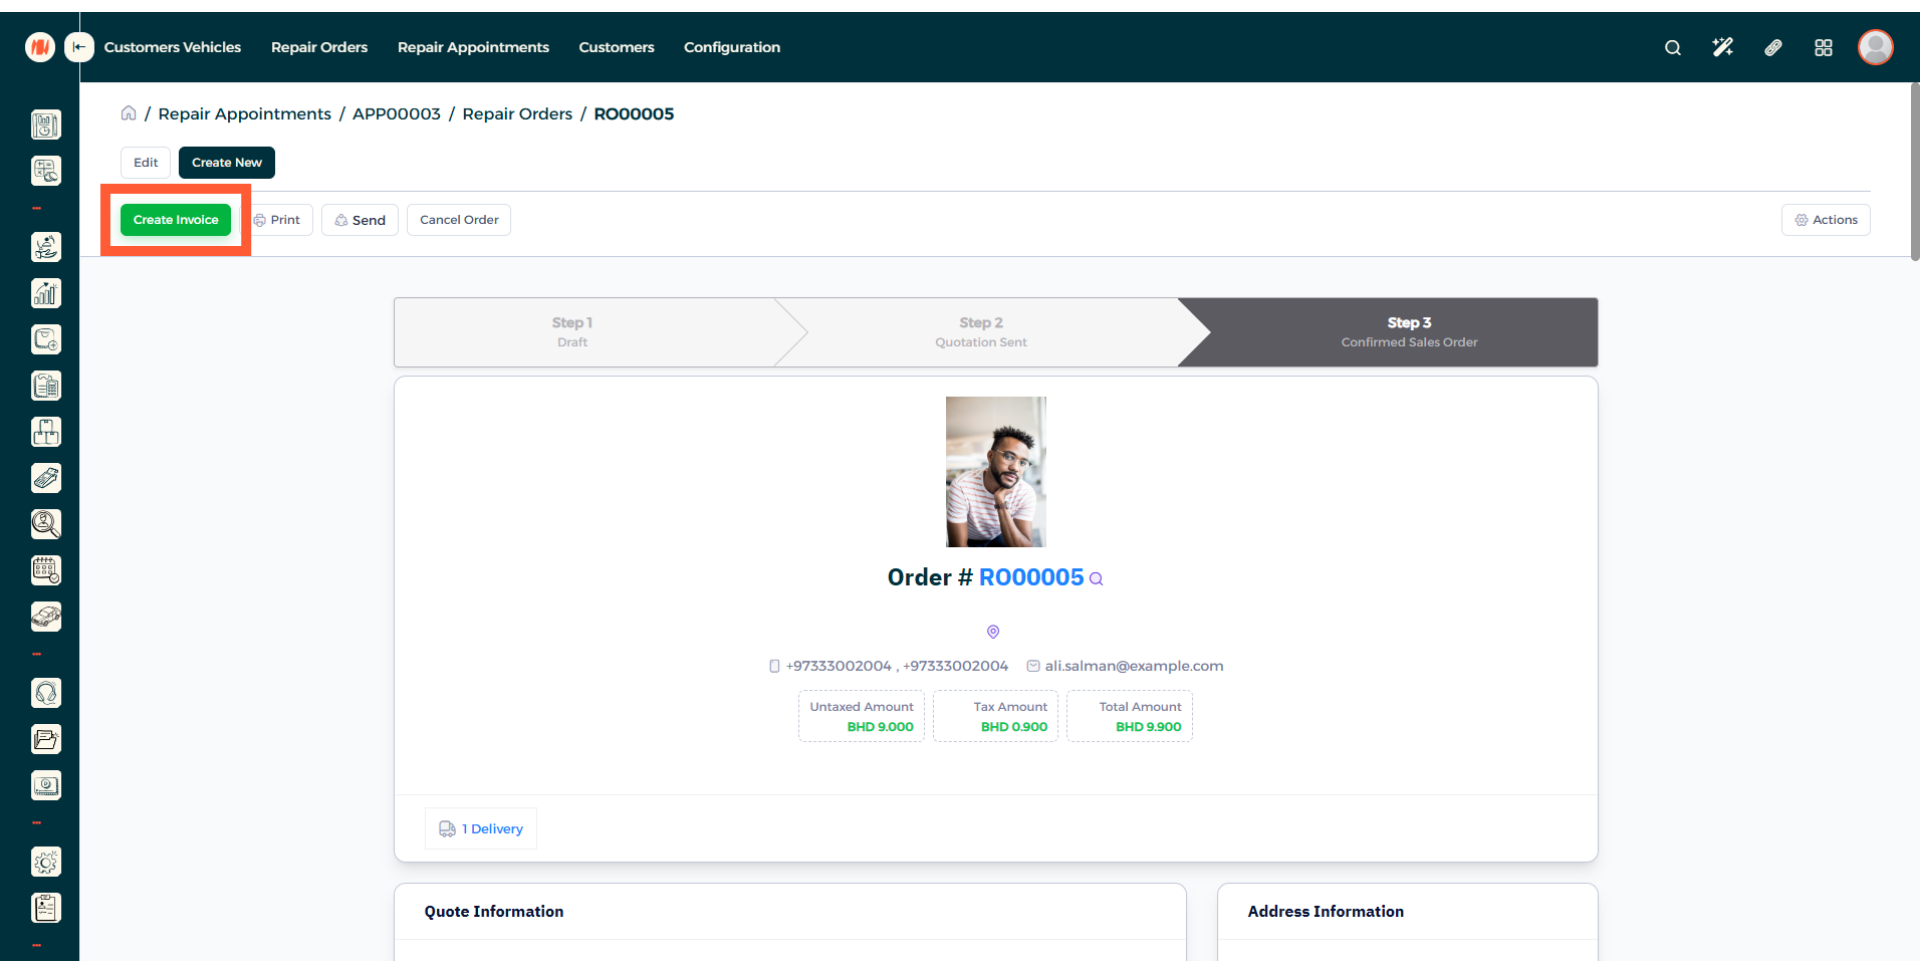
Step 19: Create Invoice
That's it, you have successfully seen what the steps are to create a repair appointment.
Notes & Tips
- Verify the customer and vehicle information so invoices are accurate and messages go to the correct contact.
- Only confirm a repair appointment after you get confirmation from the customer to avoid scheduling conflicts, unnecessary parts orders, and time wastage.
- Always review your repair appointment to make sure you stay up to date and prevent missed updates, overlooked tasks, and delays in completing the job.
FAQ
Q: What is the difference between a repair order and a repair appointment?
A repair appointment is the booking for when the customer brings the vehicle. A repair order is the recorded detailed work done on the vehicle.
Q: Can I change the appointment date or time?
Yes, open the appointment, click on edit, then add the new date and time.
Q: What if the customer did not show up to the appointment?
You can go to the repair appointment and click on cancel order.