How to Create and Manage Products, Services, and Inventory Items in Invent ERP
Learn how to create products, define pricing, manage inventory settings, and organize your product catalog efficiently.
Step-by-Step Process
Step 1: Access the Products
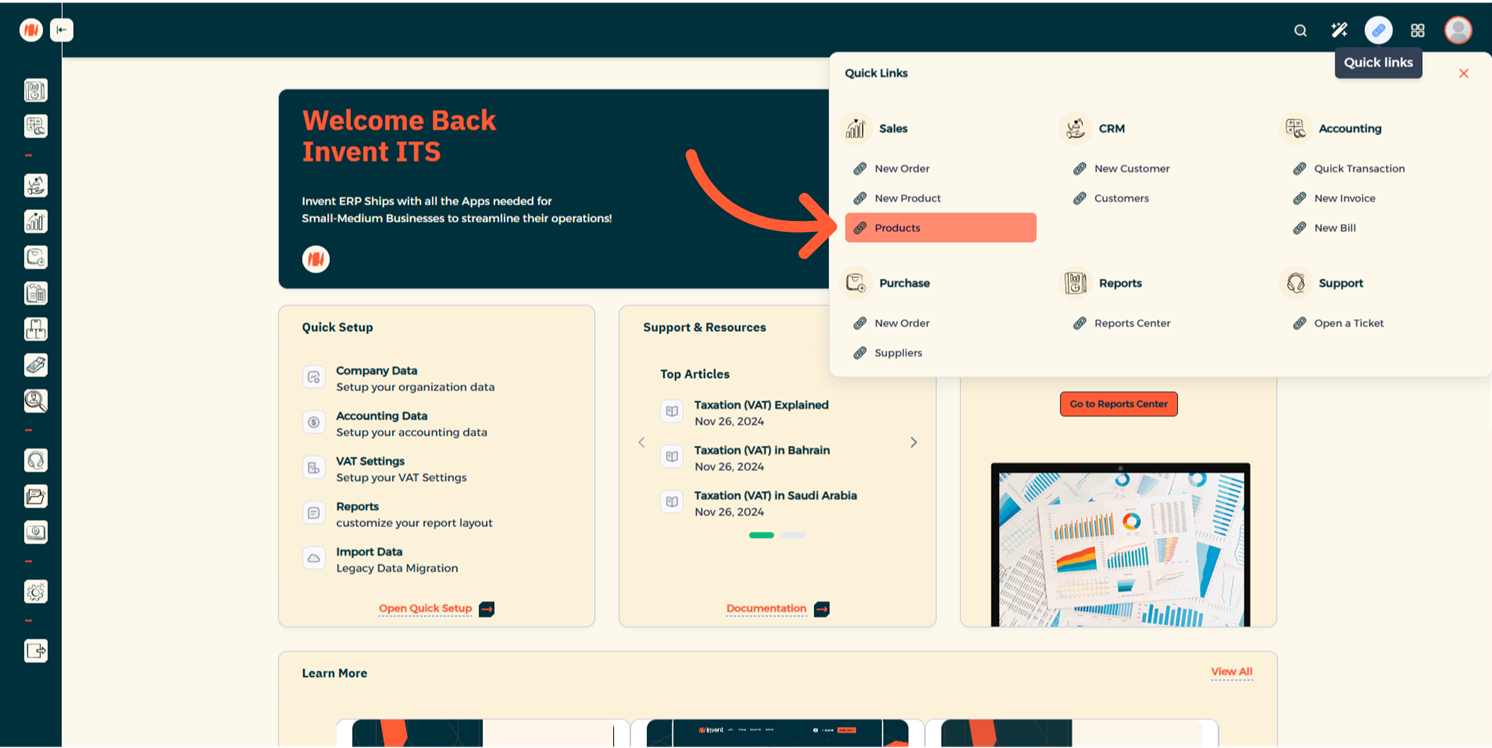
From the Home Page, navigate to Products under any module
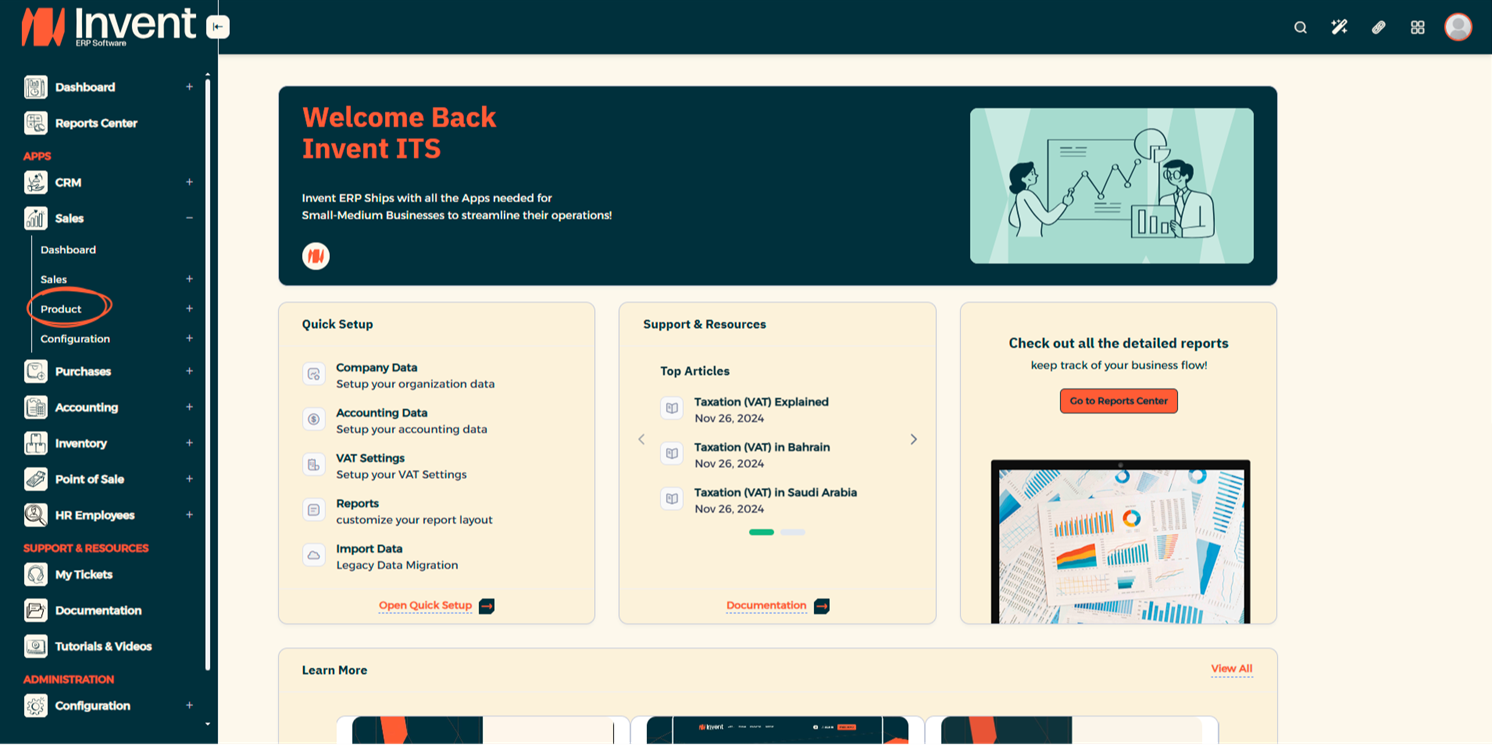
or use Quick Links.
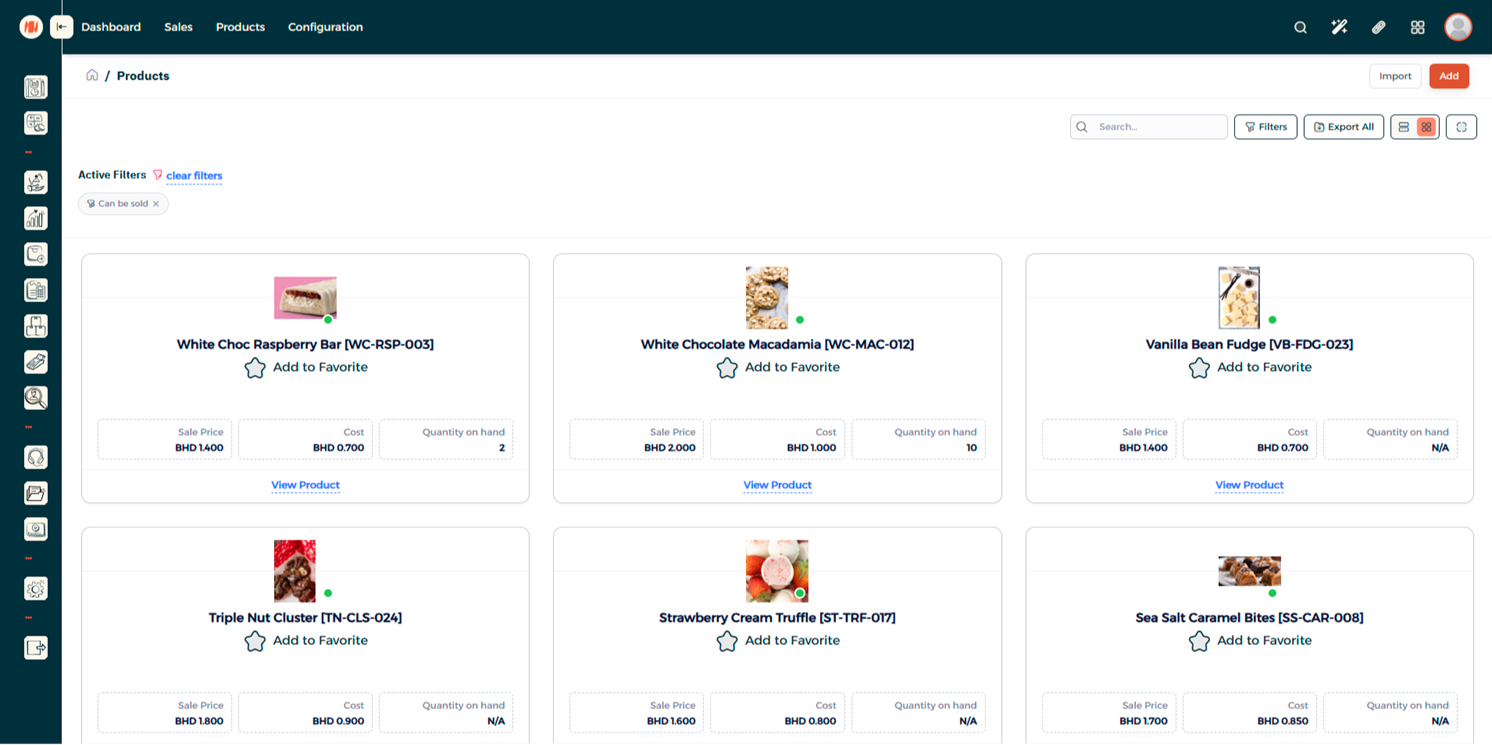
Step 2: Add a New Product
From the Products Page, Click Add and start adding a new product.
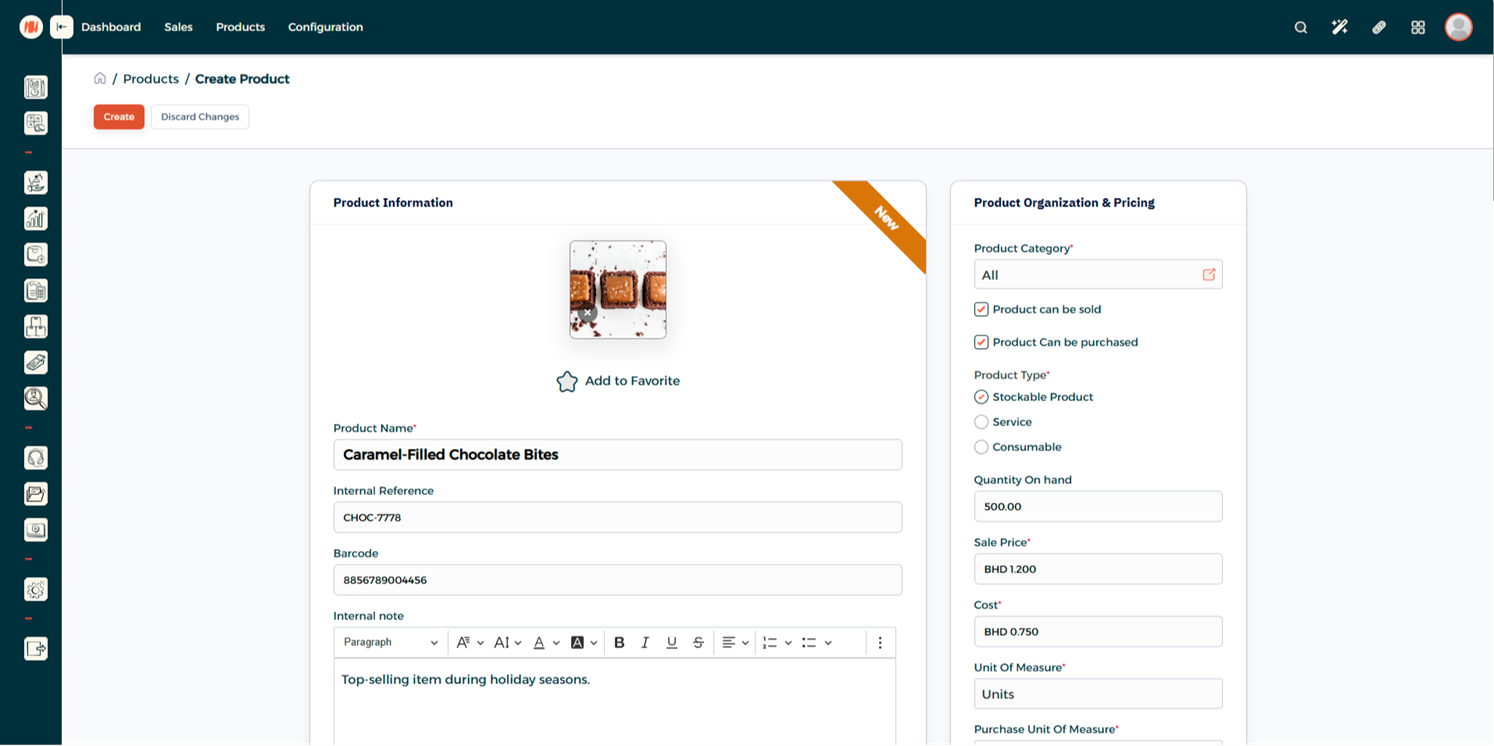
Step 3: Fill in the Product Details
Enter the required product information and click Create.
Notes & Tips
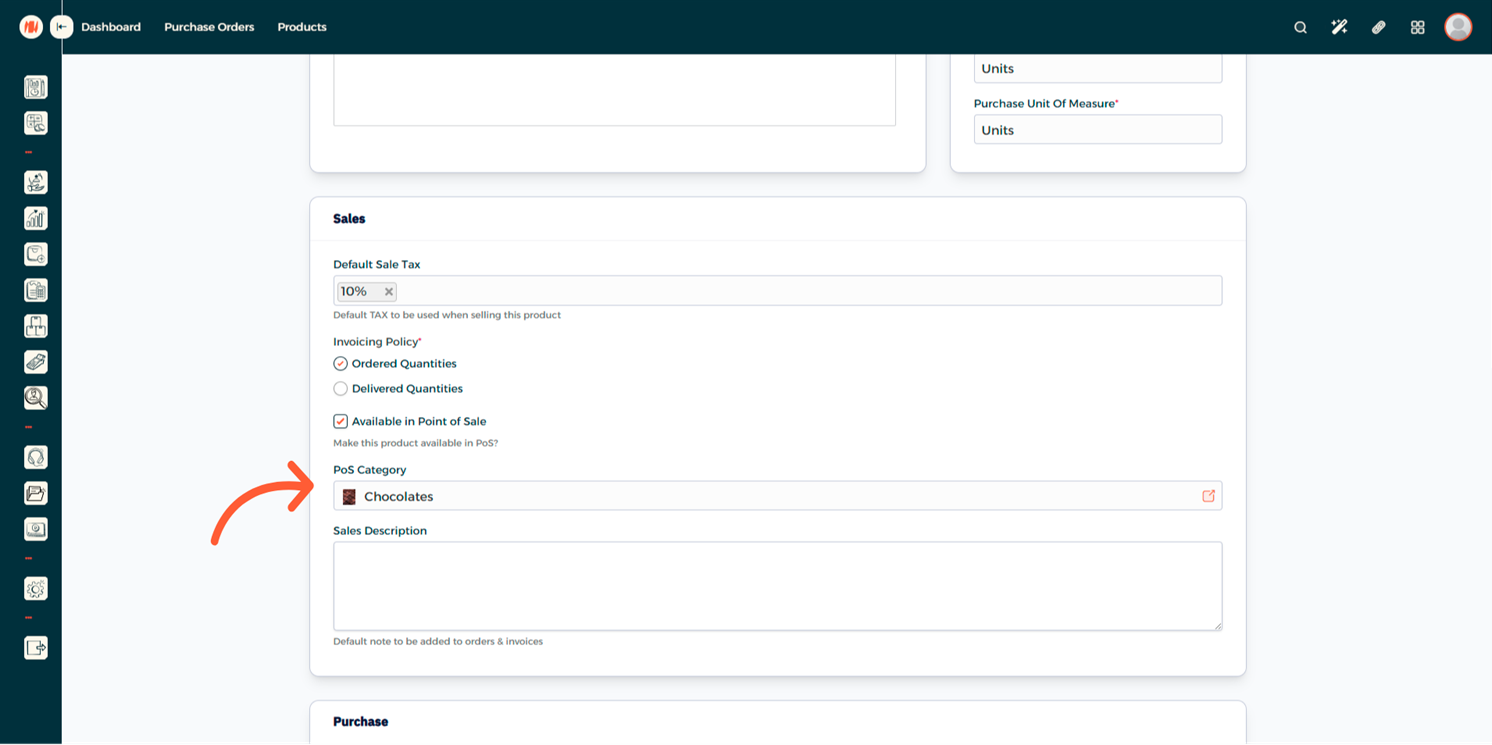
- If you are adding a POS item, make sure you mark it as a POS Item and assign it under the POS Category.
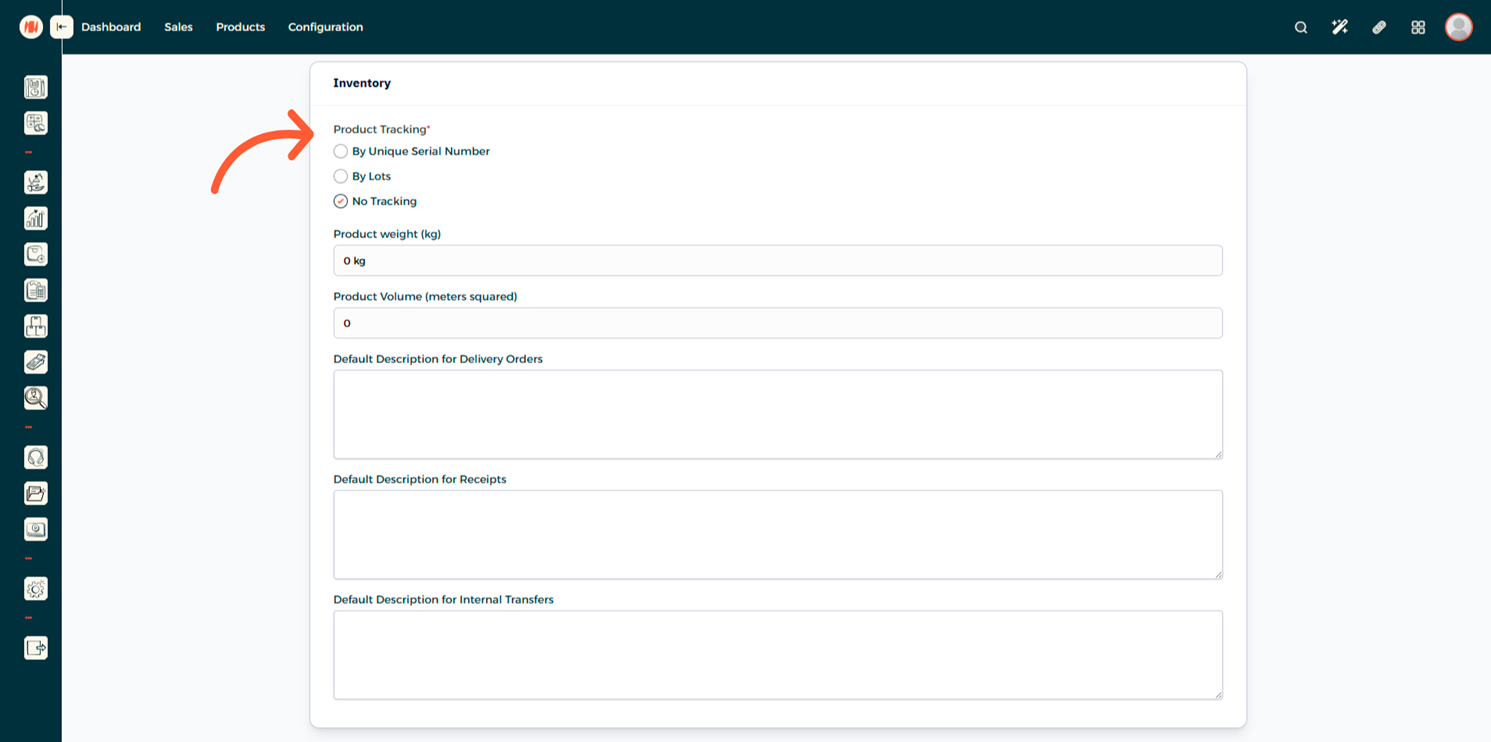
- If you want to track your item, in the Inventory section you can either track it by lots (for batch-based products) or track it by serial numbers (for individually tracked items).
Notes & Tips
- If you are adding a POS item, make sure to mark it as a POS Item and assign it under the POS Category.
- If you want to track your item, in the Inventory section you can either:
- Track by lots (for batch-based products)
- Track by serial numbers (for individually tracked items)
FAQ
Q: Can I edit product information after saving? Yes. You can edit or update any product details anytime from the Products page.
Q: What is the difference between a POS Item and a regular product? A POS Item is sold through the Point of Sale interface. Regular products are used in standard operations such as Quotations, Sales Orders, Invoices, and Vendor Bills.
Q: Can I add service items? Yes. When creating the product, select Service under the product type. Service items are not tracked in inventory but can be used in sales, purchase, and invoicing.
Q: Can I import multiple products at once? Yes. You can bulk import products using the Import option under Products.