How to Manage Warehouses and Locations in Invent ERP?
How to Manage Warehouses and Locations in Invent ERP?
Warehouses serve as the main storage facilities that hold and manage your inventory at a high level. Locations are the smaller, organized sections within a warehouse that let you precisely track, pick, and control stock movement. Using warehouses and locations in Invent ERP gives you precise inventory control, faster picking, and fewer stock errors which leads to saving time and reducing costs while improving order accuracy.
Step-by-Step Process
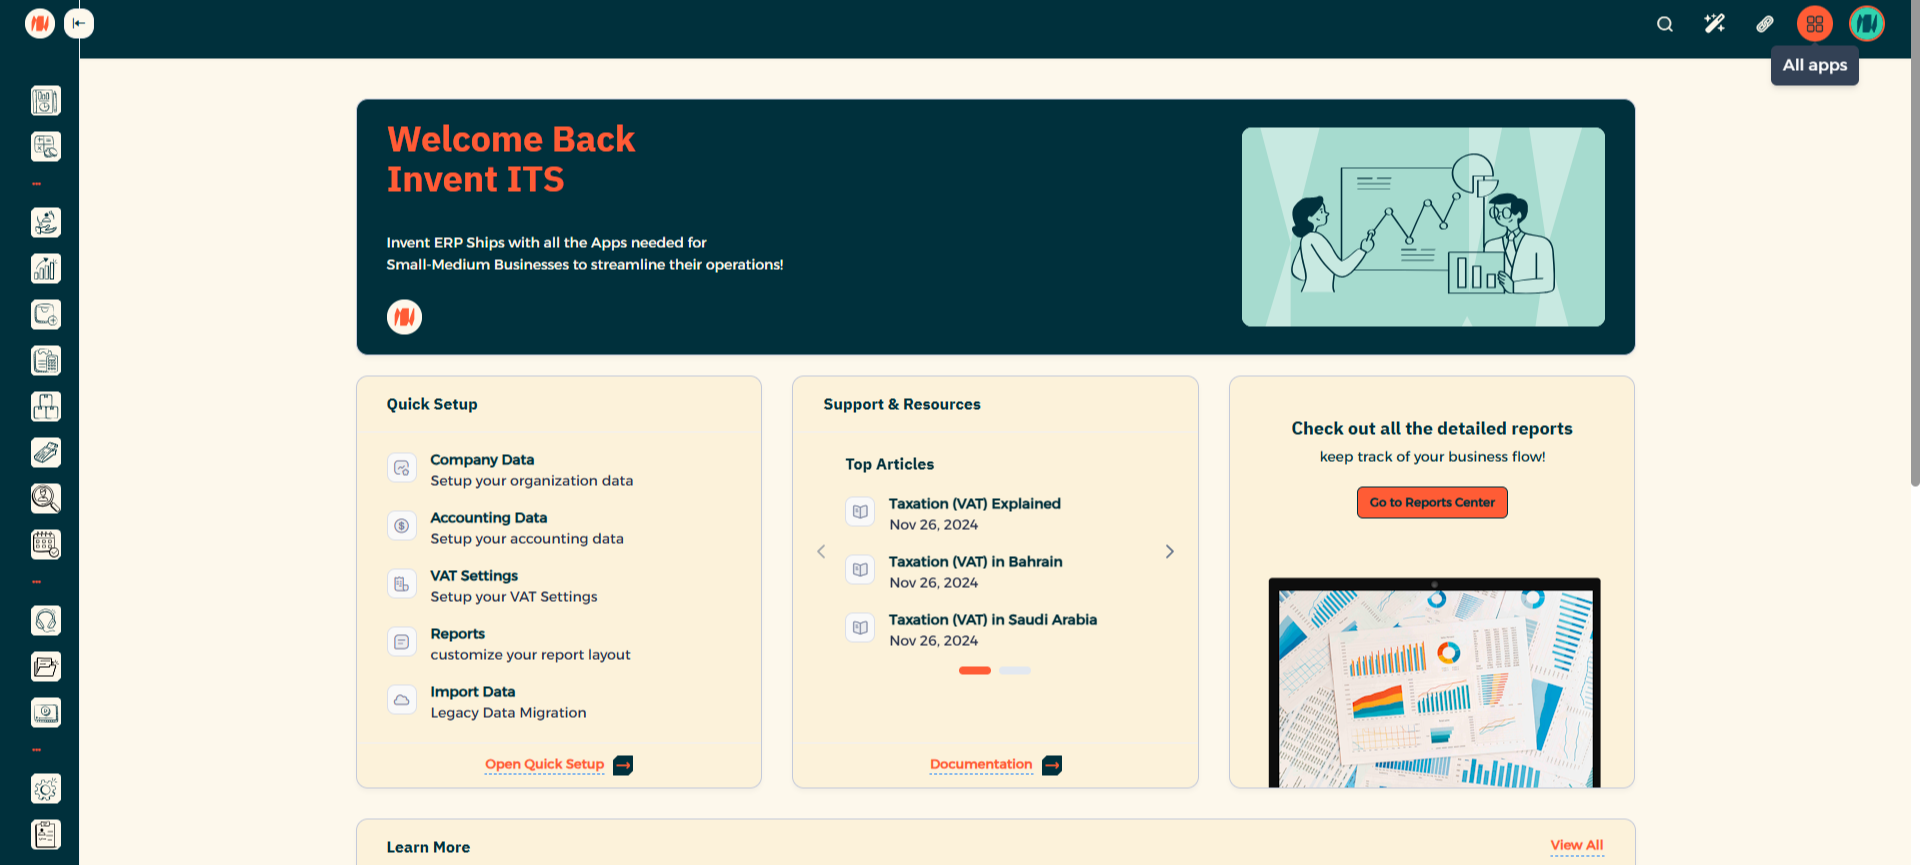
Step 1: Navigate to All Apps
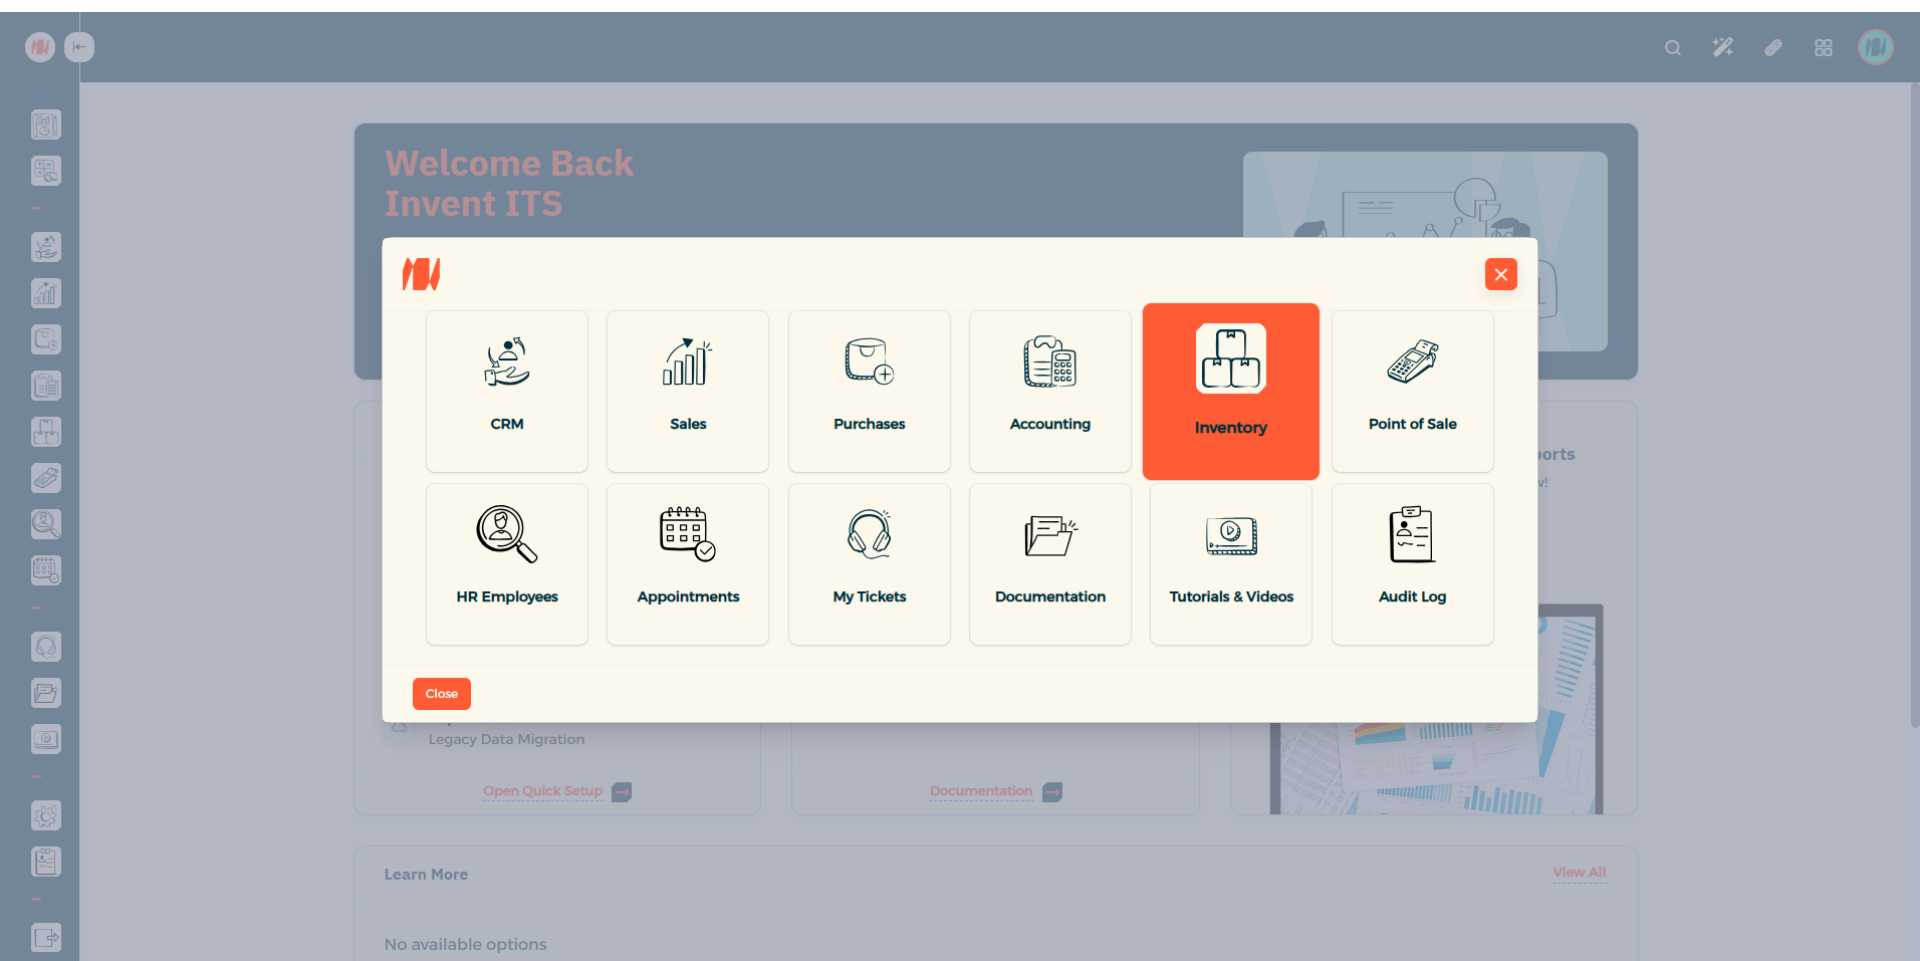
Step 2: Select Inventory
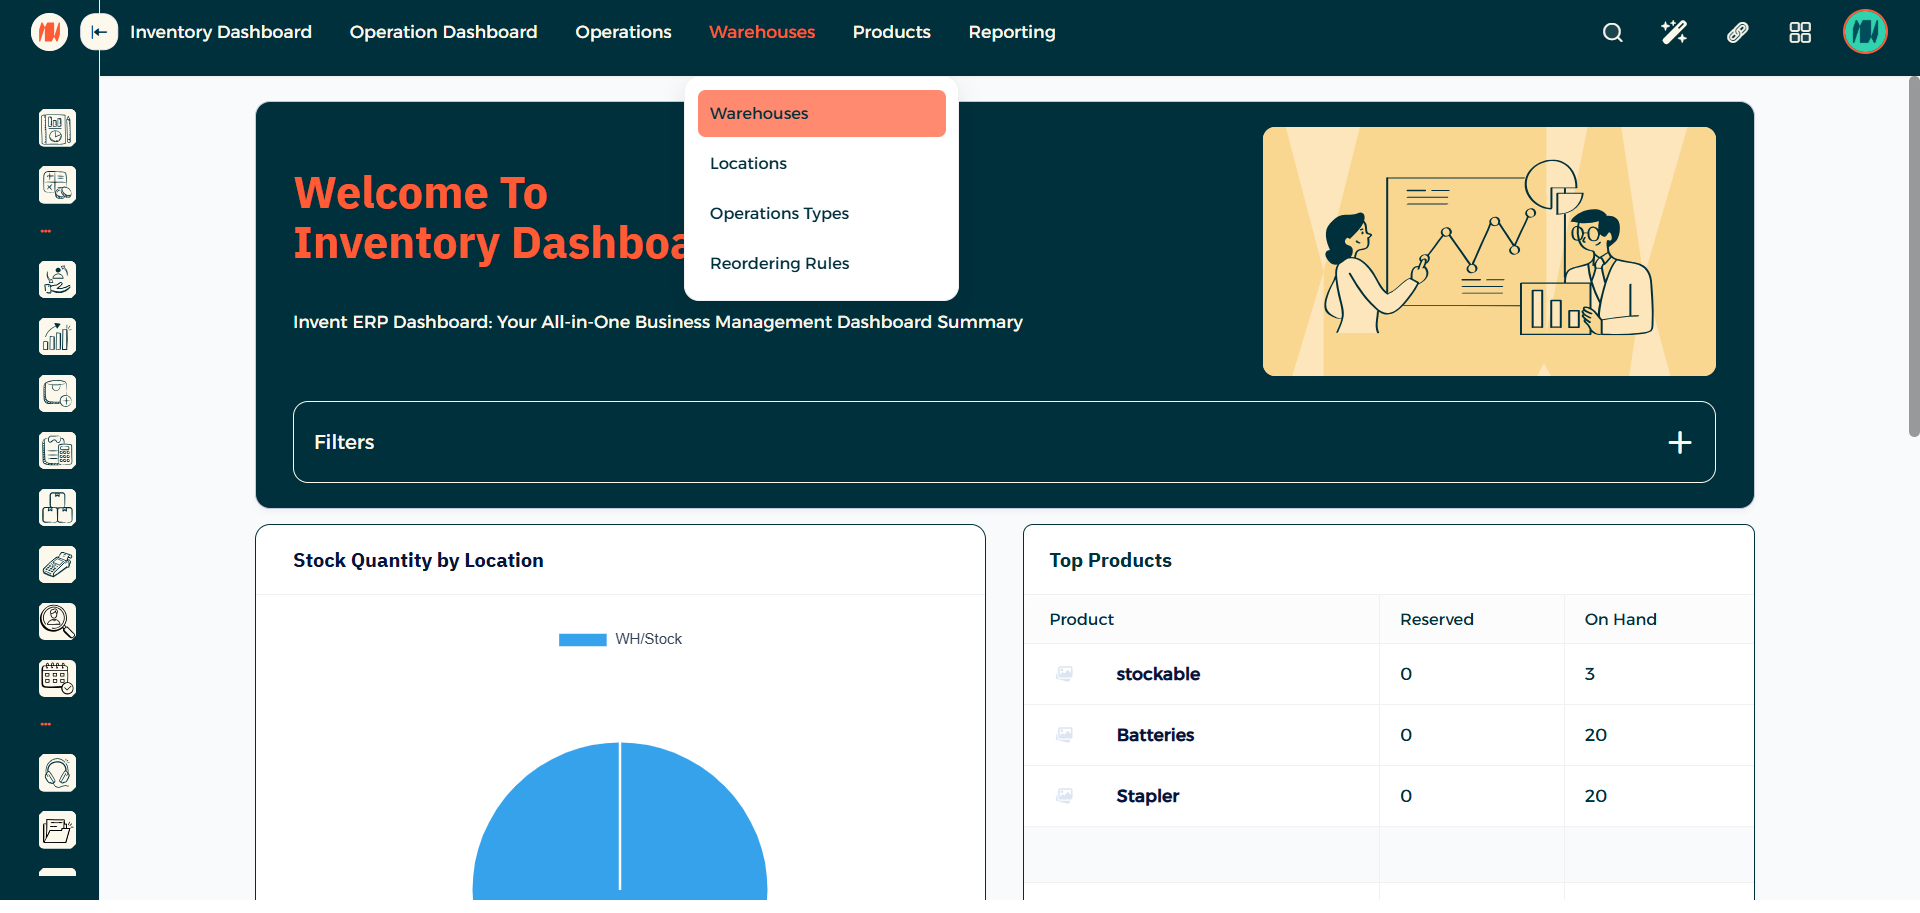
Step 3: Select Warehouses
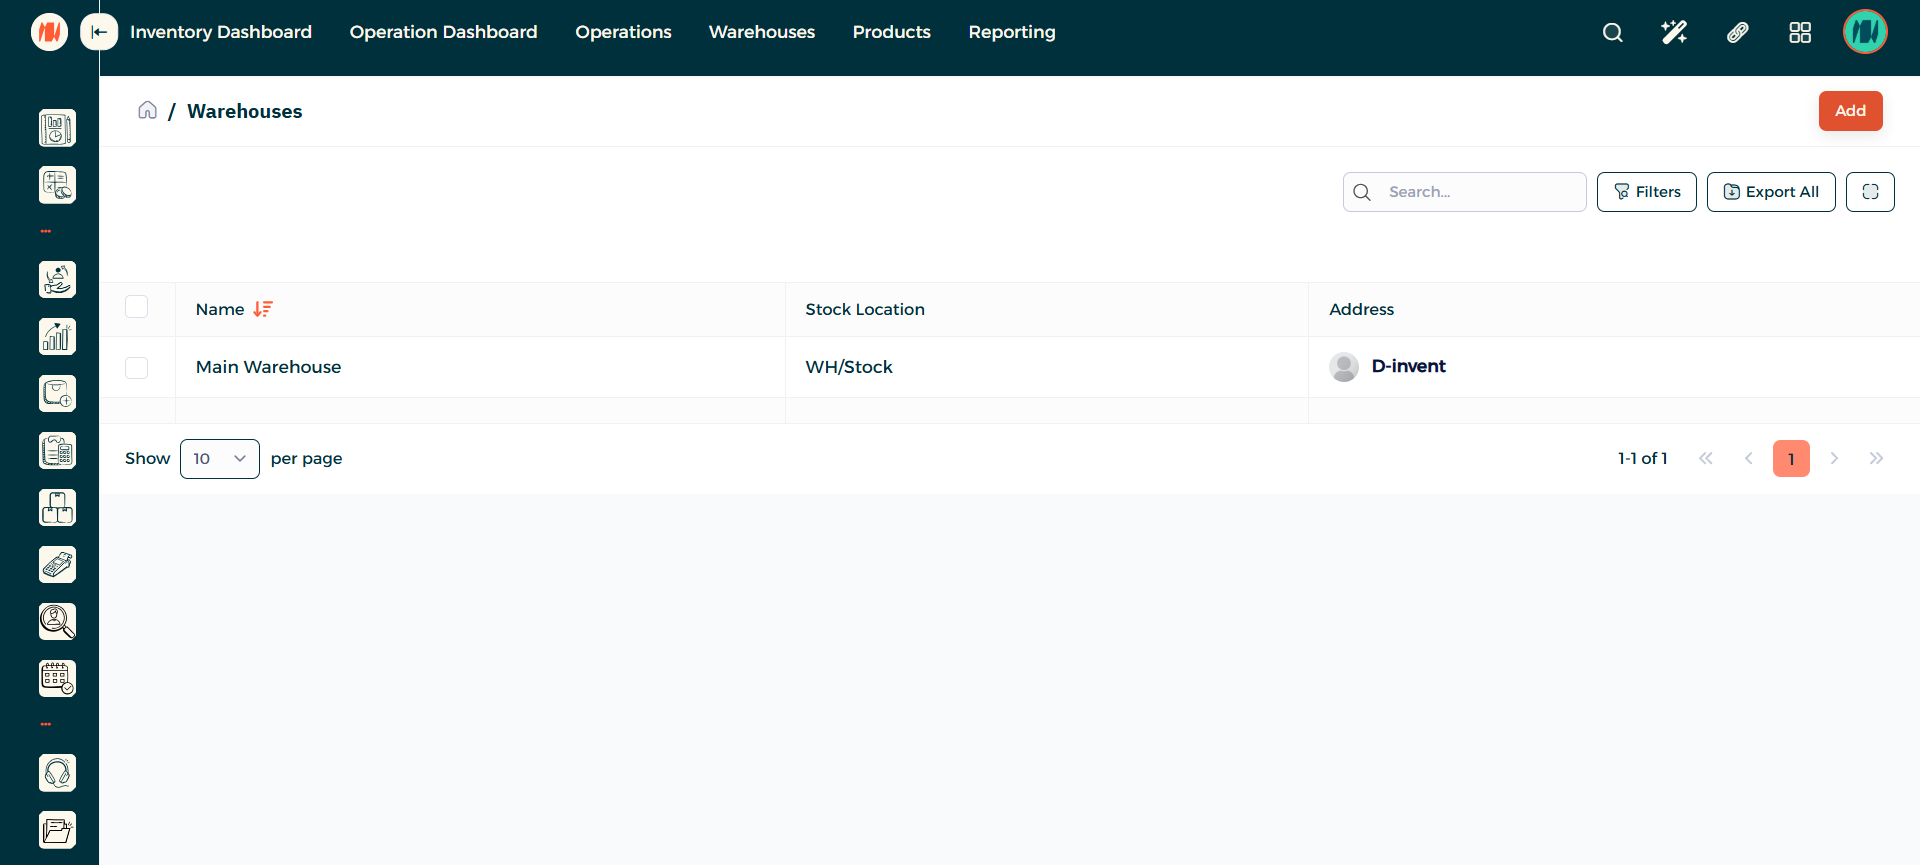
Step 4: Add a Warehouse
When you arrive to the Warehouse page. In the top right corner press add.
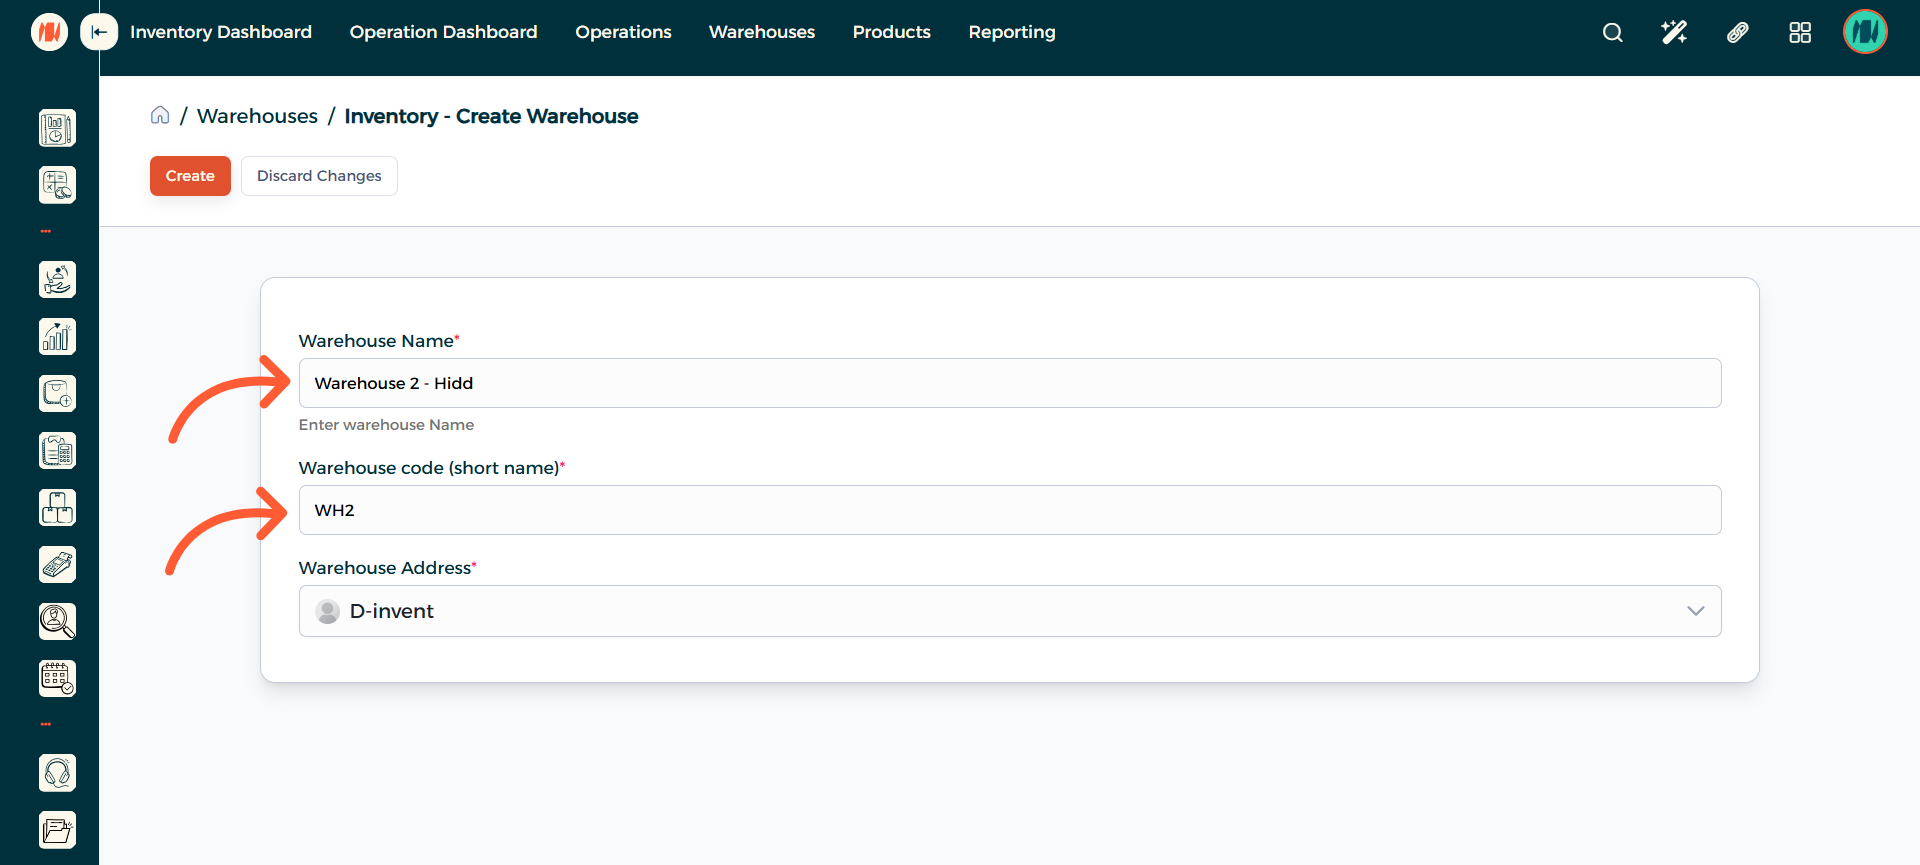
Step 5: Enter a Warehouse Name and Code
Enter a suitable warehouse name. Alongside that add a warehouse code or short name. After that is done Press on Create.
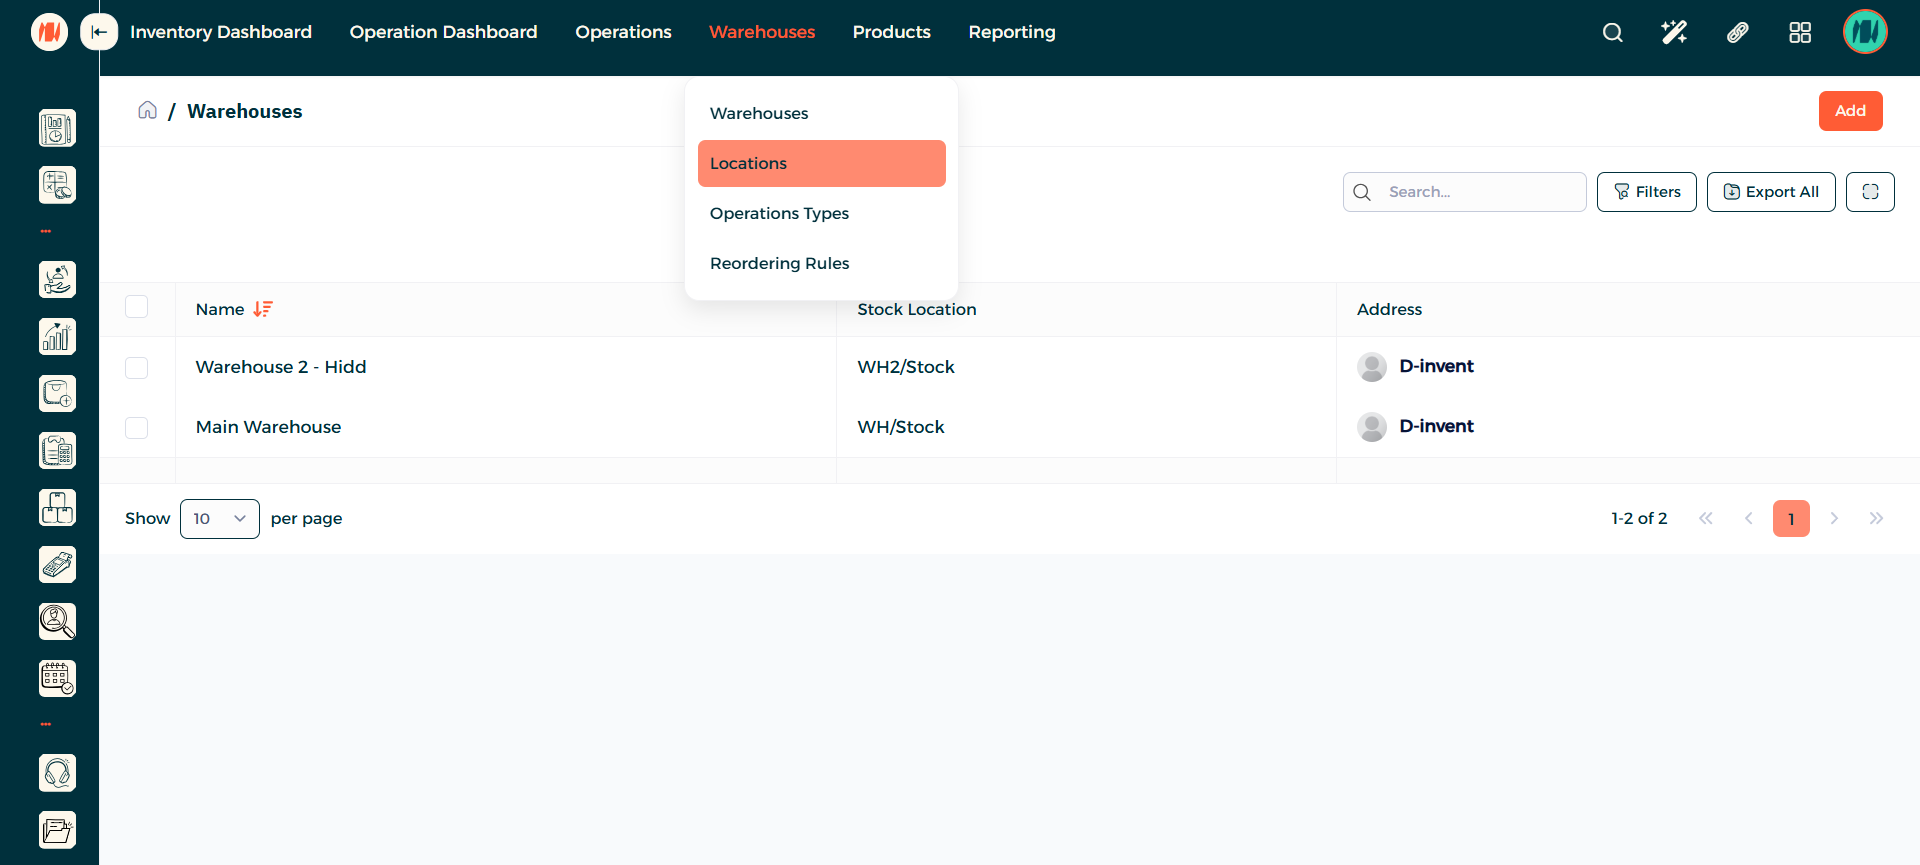
Step 6: Navigate to Locations
Select Warehouses, then choose Locations.
Step 7: Add a Location
When you arrive to the Location page. In the top right corner press add.
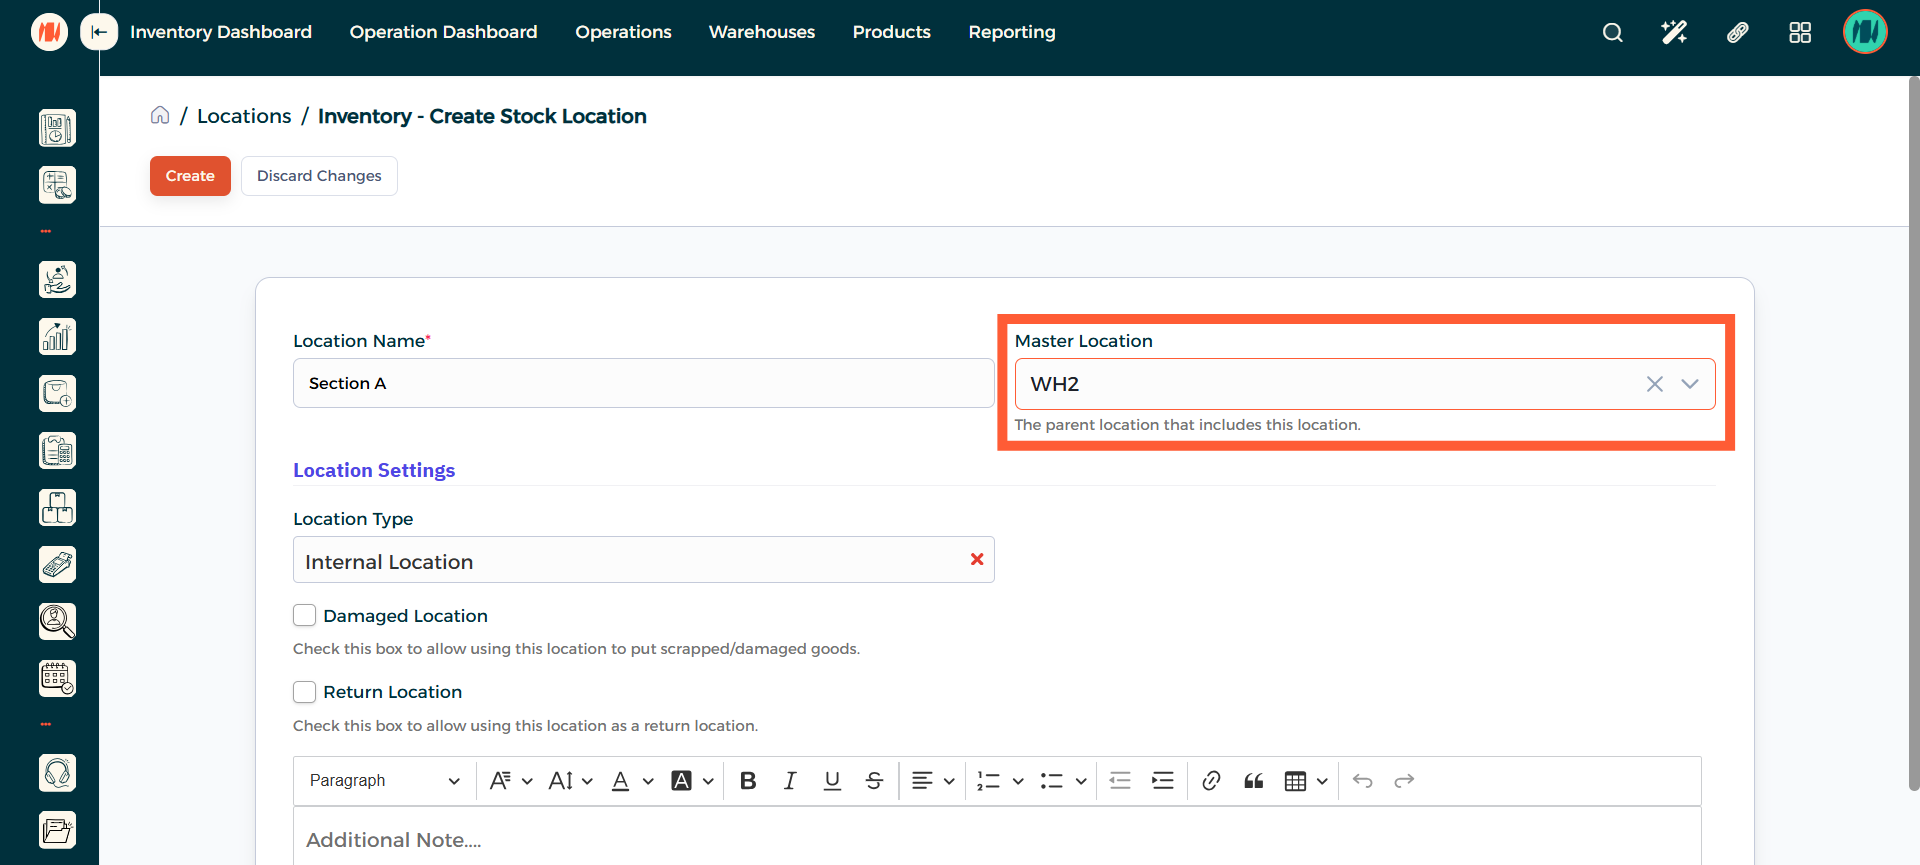
Step 8: Enter a Location Name
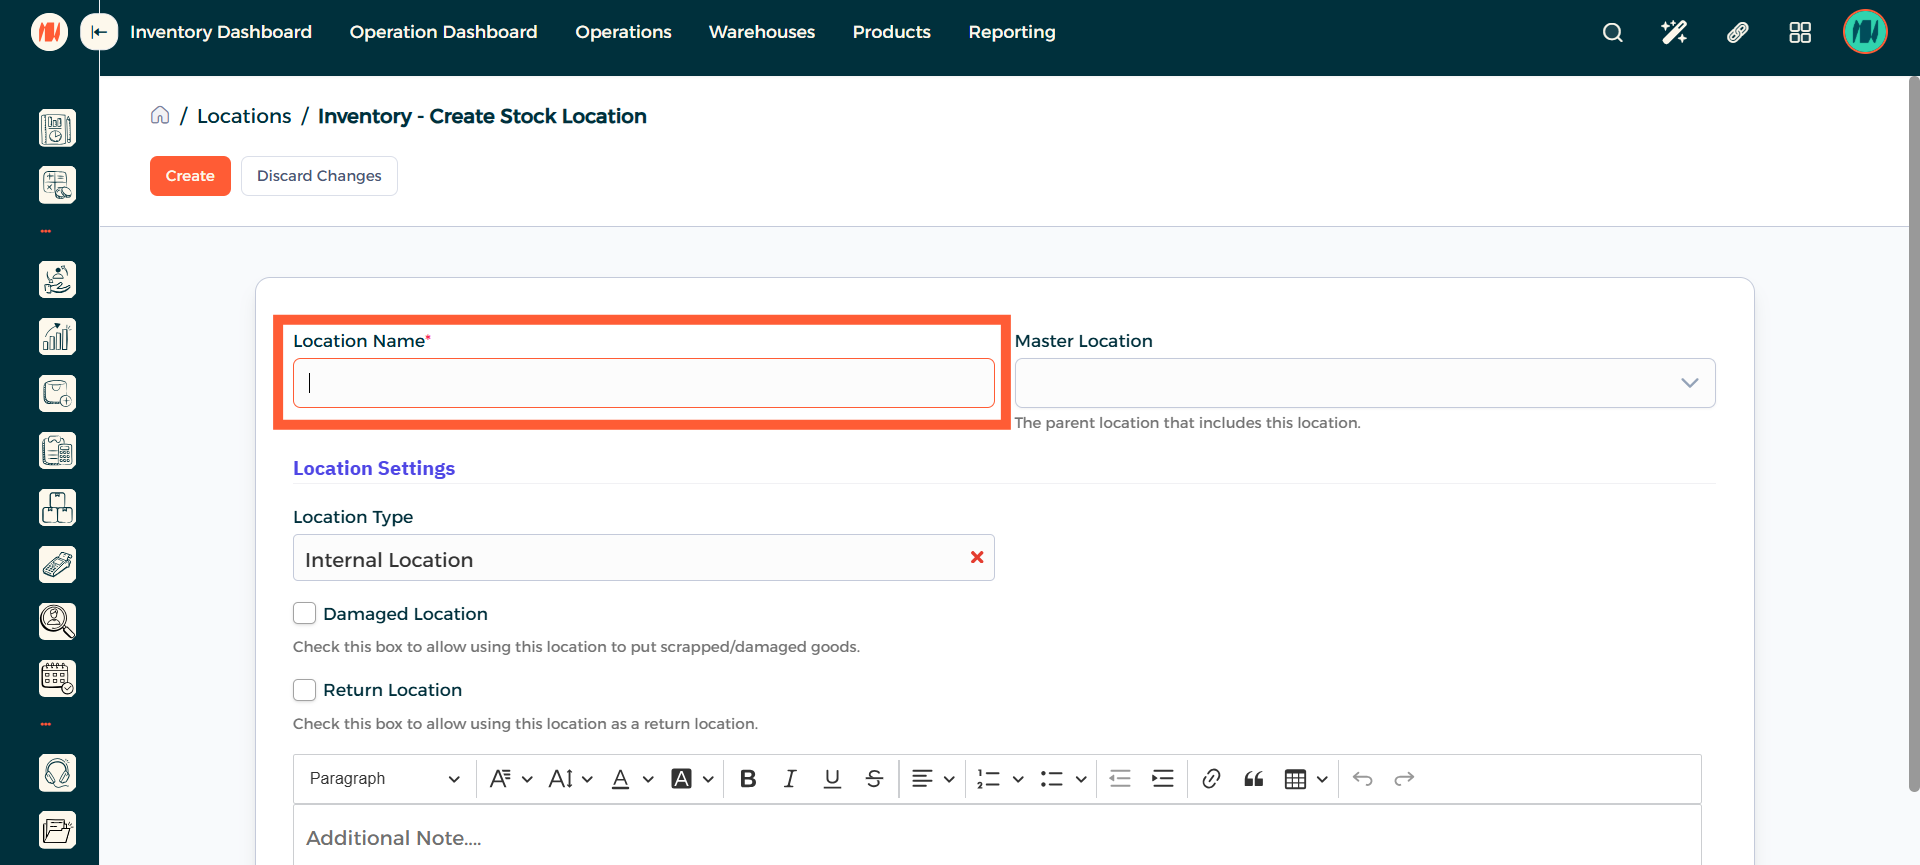
Step 9: Select Master Location
Select the Warehouse where this Location will belong to. When that is done press on Create.
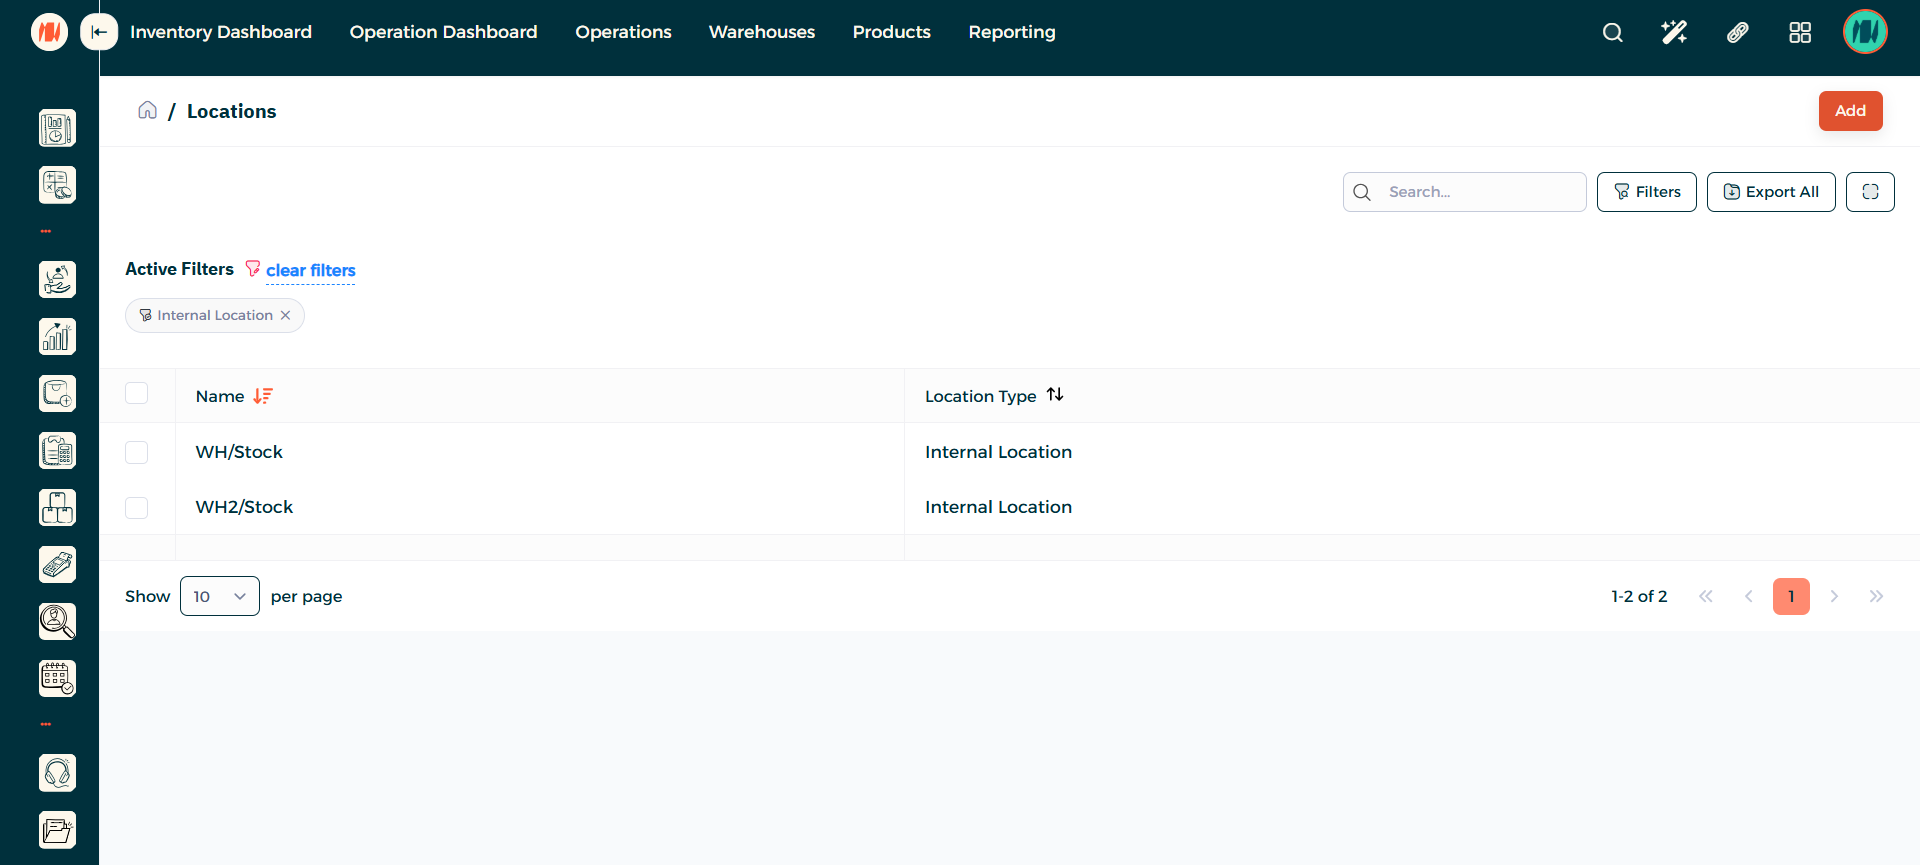
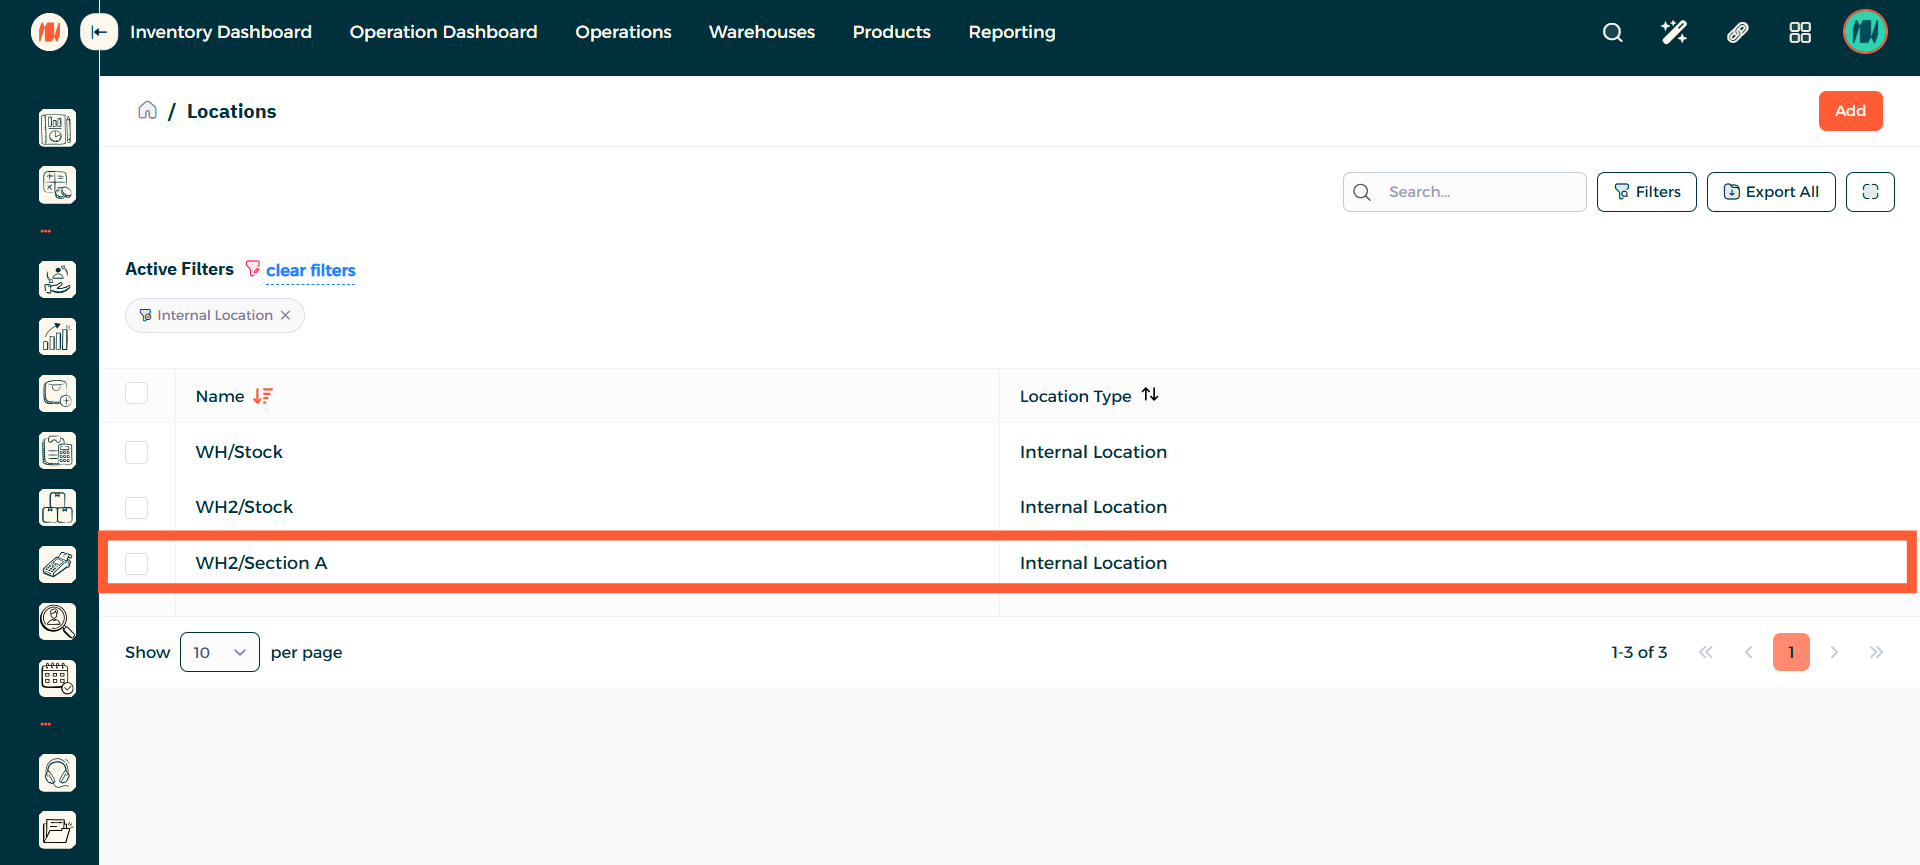
Step 10: Location Creation
In the Locations page, you can see the Location you created successfully.
Notes & Tips
- Always verify the location is under the appropriate warehouse to avoid misplacing or losing stock.
- Use clear and consistent naming for warehouses and locations so items are easy to find and for better organization of your inventory.
Frequently Asked Questions (FAQ)
Q: What is the difference between warehouses and locations?
A: The warehouse is the overall storage facility for your products. Locations are the specific sections inside the warehouse used to organize and track inventory.
Q: Can I add a location for two different warehouses?
A: No locations are tied to a single warehouse. Each warehouse has its own set of locations for clearer organization.